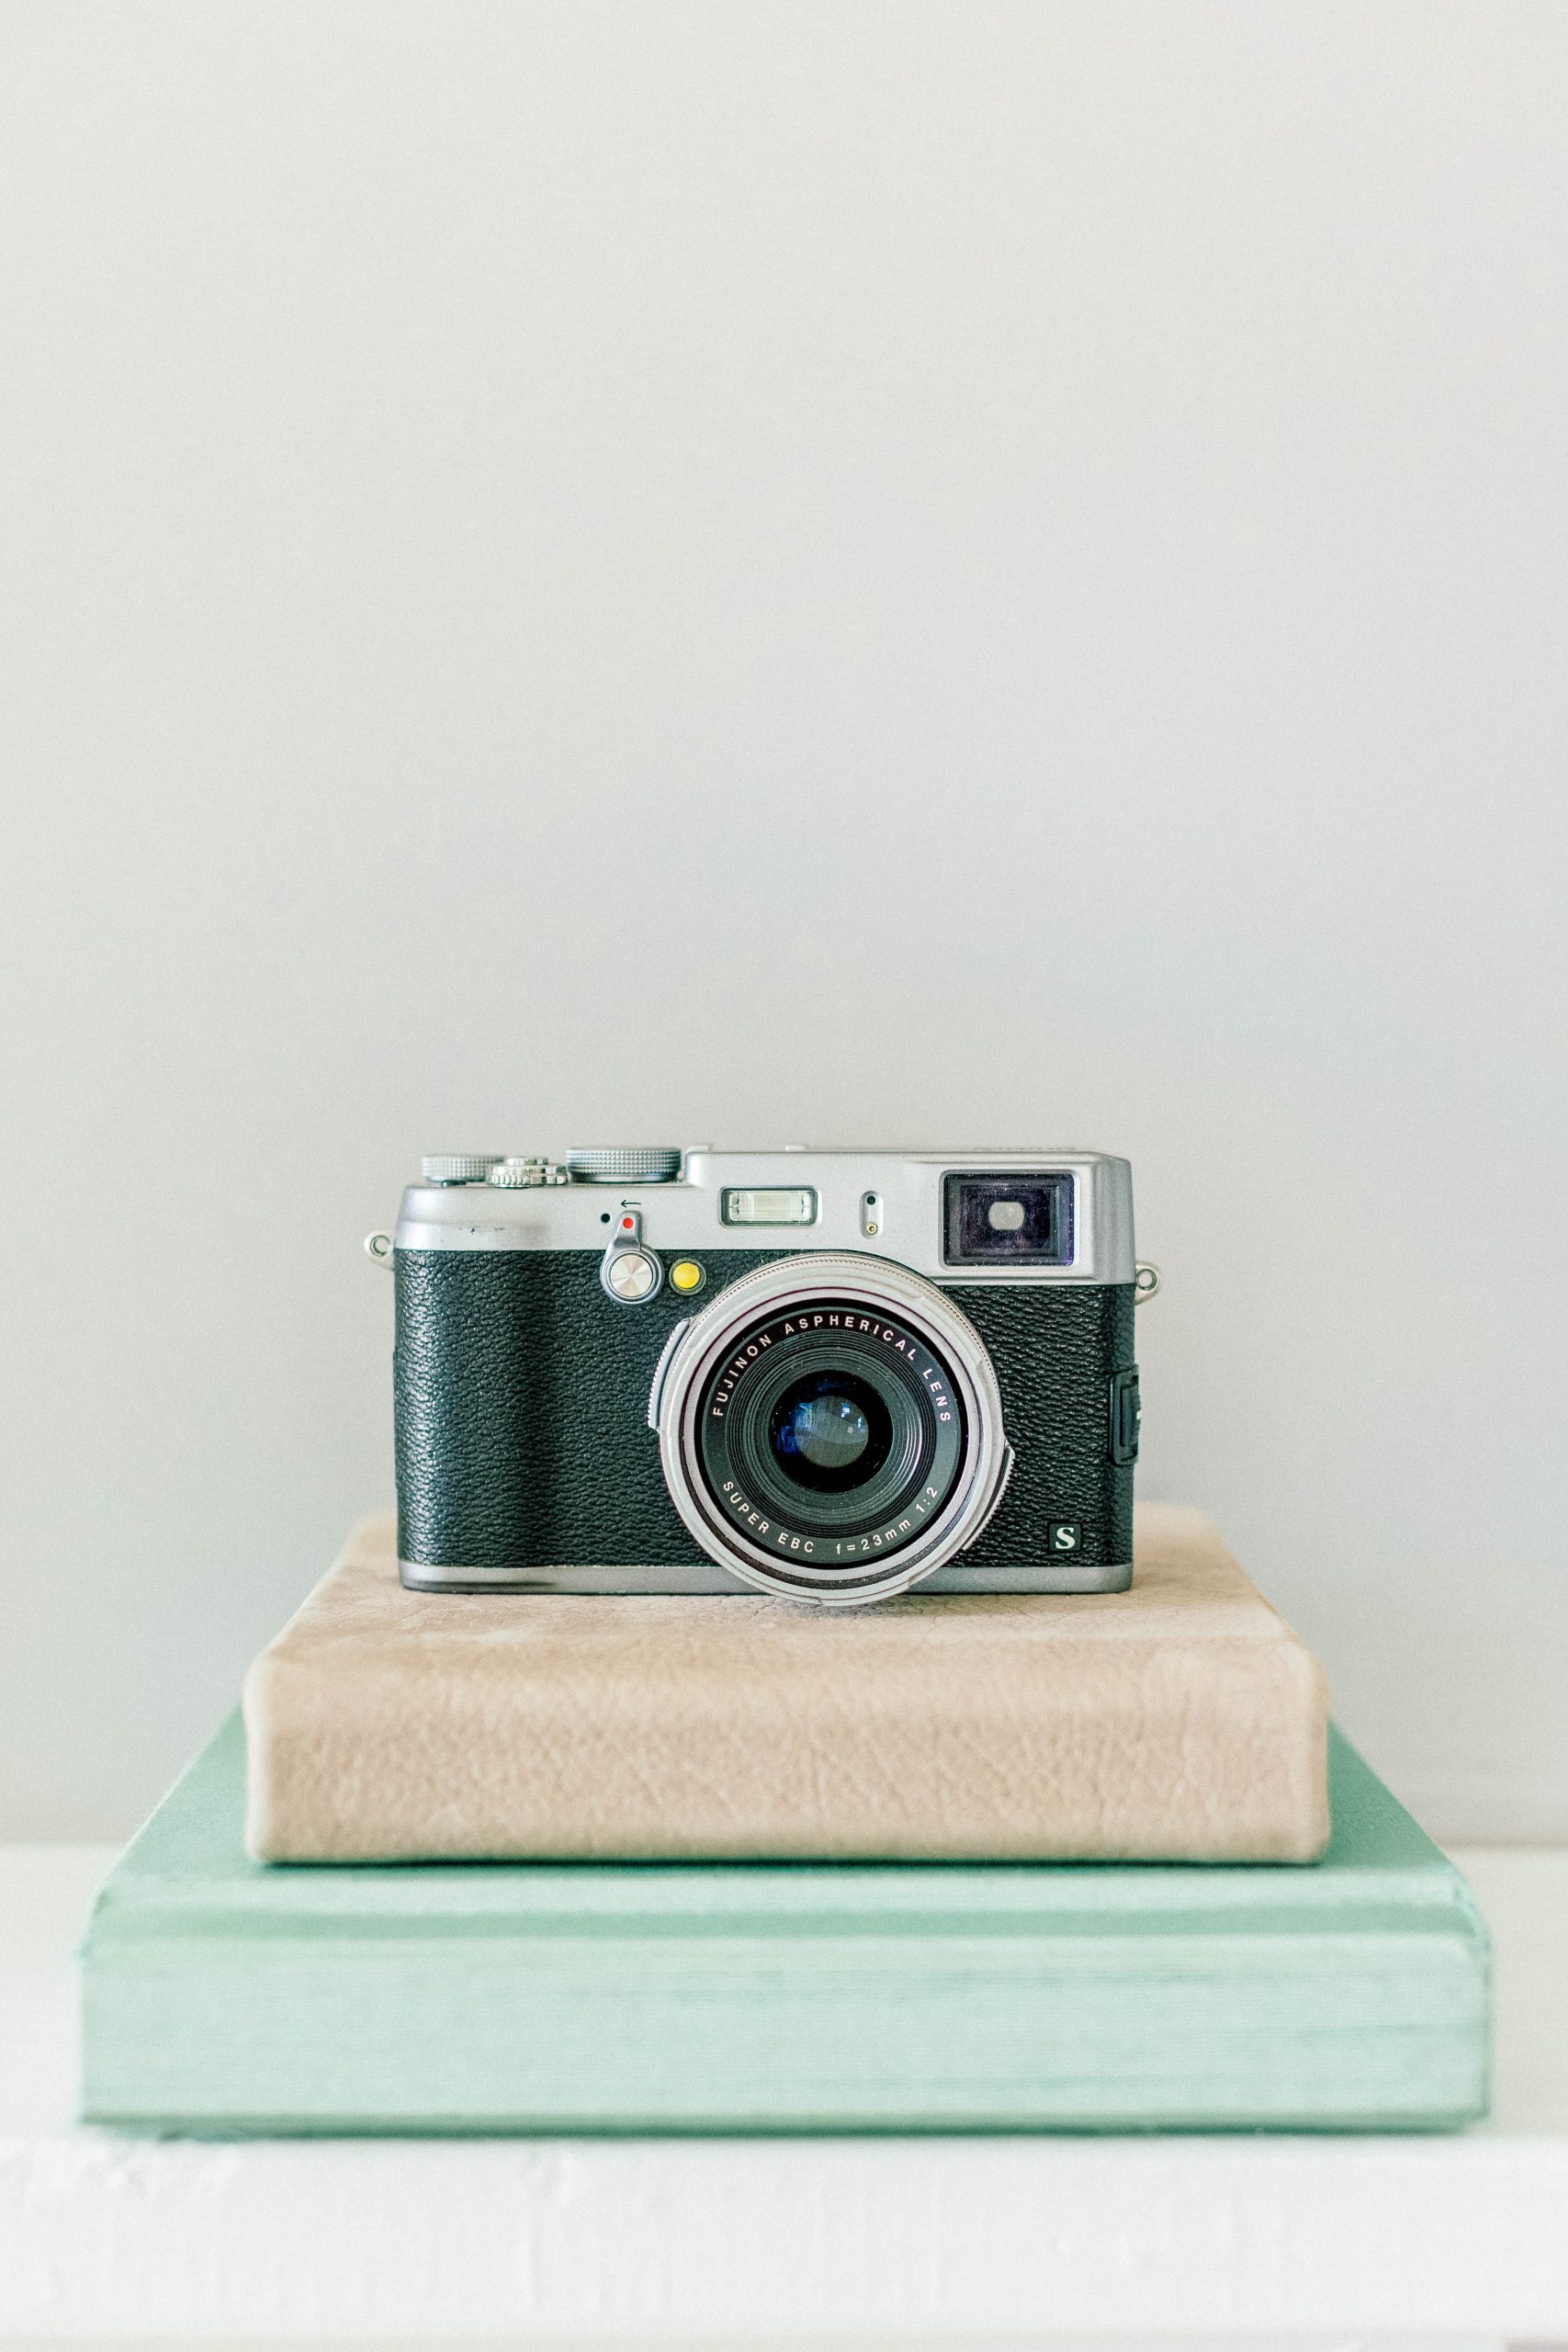
Having a solid backup process is crucial for wedding photographers. Our clients have entrusted us to capture and secure their precious memories so that future generations can look back upon this moment in their family’s history. I think it’s pretty safe to say that it would be any wedding photographer’s worst nightmare if they were to lose their client’s images. That’s why it’s so important to have a multi-tiered backup process in place from the very beginning.
Below, I’m going to break down my exact backup process. To some, I may be “overdoing it” but when it comes to my clients’ images, I don’t want to take any risks or spare any expense. Backing up my work is very inexpensive compared to the cost of losing someone’s wedding images! So here we go…
- Utilizing my camera’s dual card slots and recording to two separate CF + SD memory cards. From the moment I start shooting on the wedding day, I am backing up my clients’ images. I shoot with a Sony a7riii mirrorless camera and have my camera set up to record RAW files to both SD cards. I use both SanDisk + Lexar 256GB SD cards, so I don’t need to change out my memory cards on the wedding day – which reduces the risk of physically losing a card.
- Downloading cards on-site to a portable external hard drive during the reception. My assistant starts to upload the day’s files during the reception. As dinner begins, I give my assistant one of my SD cards to download, as well as my second shooter’s card(s) from the day. I start a “new” SD card for the reception, while the other SD card will stay in it’s slot all day. This is important because the SD card will house ALL of the photos from the wedding day at the end of the night. I’ll have 2-3 other SD cards that contain all of the wedding day images as well. My assistant is downloading these files onto a portable external hard drive. I currently use this portable 2TB San Disk SSD drive and it has been great!
- Downloading the final SD card to the portable external when I get home. Once I get home, I plug in the portable SSD drive to my desktop computer and upload the last SD card of the night. Once this is finished uploading to the portable SSD drive, ALL of the images from the day’s wedding will be on that drive.
- Set aside the SD cards until the images are delivered to the client. Remember that one SD card that was in my camera all day? That tiny card now has ALL of the images from the wedding on it. Once I’m home from the wedding, I take the full SD card and set it aside. I do not format or reuse this card until the wedding has been delivered to the client and completely backed up.
- Copy files from portable SSD drive to desktop. Now, I have the RAW files on both my portable SSD drive AND my office computer’s desktop.
- Automatic cloud backup by Backblaze and CrashPlan. Yup, I use both. Just in case.
That is my process immediately following the wedding, before the images are ready for delivery. So, as I am working on editing each session or wedding, I have the RAW files on two hard drives (my portable SSD drive and my desktop computer’s hard drive) and on the SD cards, which I’ve set aside. Additionally, the RAW files are on the cloud via Backblaze + CrashPlan. Once I have edited the entire wedding, there are a few more steps that complete my backup process and archiving of the edited files.
- Upload edited digital files to Pixieset, PASS, and Smugmug. I use each program for different things. Pixieset is the program I use to deliver images to my clients, so ALL of the wedding day images are uploaded + saved here. I use PASS to save my favorites from each wedding – only because I paid for a PASSport membership back in the day and I still want to utilize this program for extra security – and Smugmug to save ALL of the wedding day images as well. I don’t mind paying for multiple storage solutions because keeping my client’s images safe is my top priority.
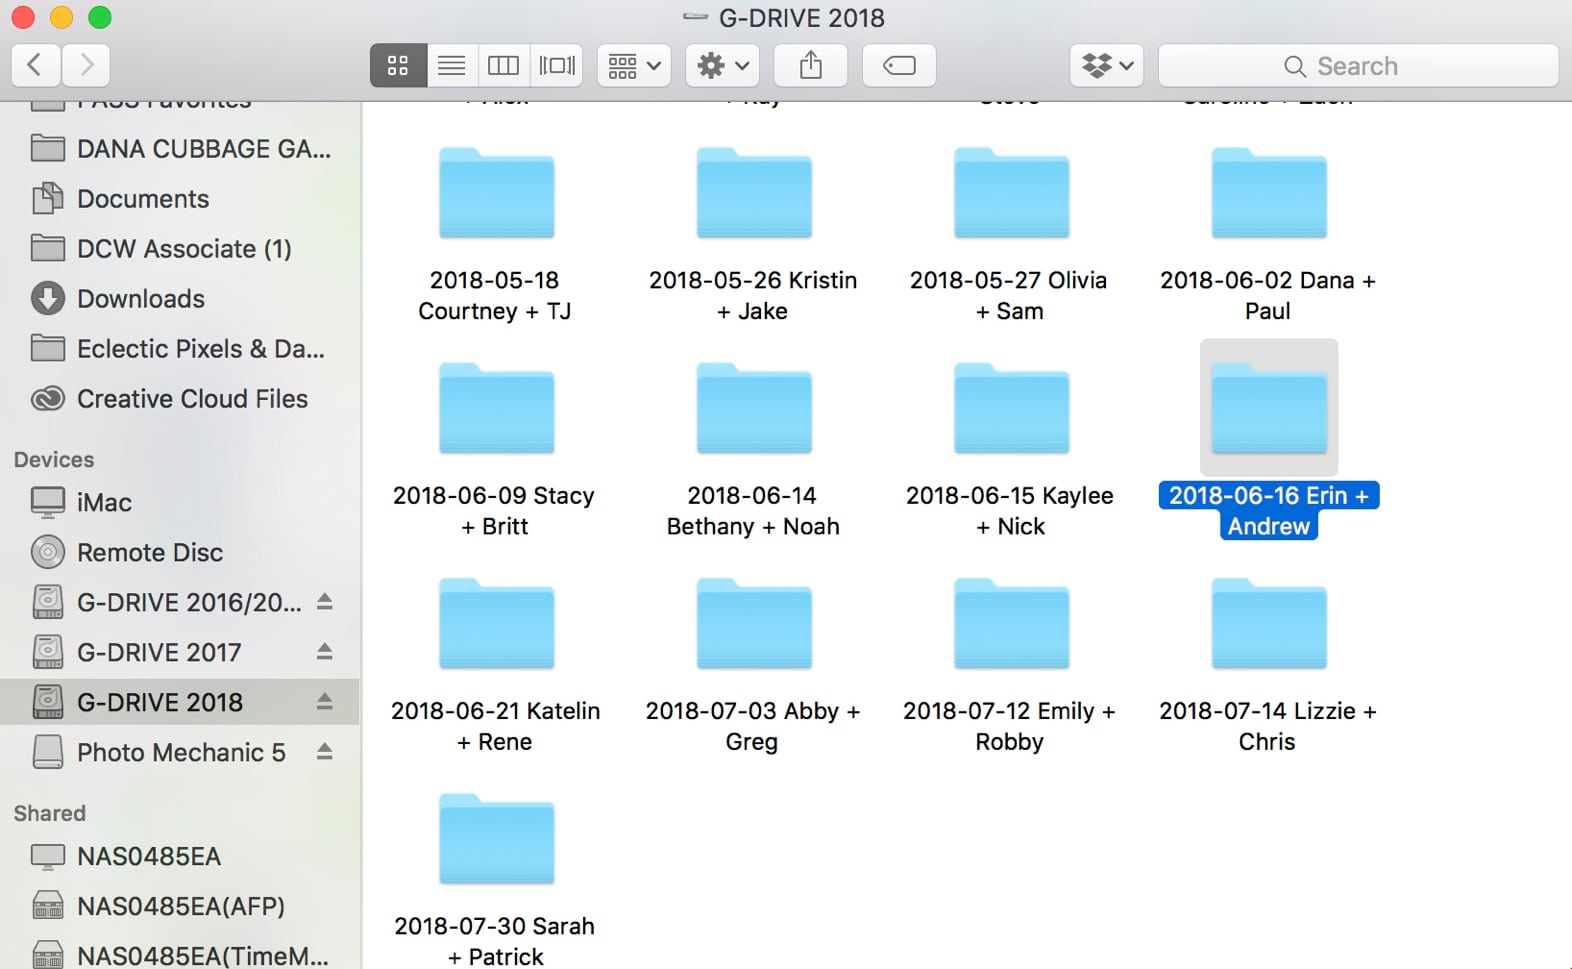
- Copy/paste the working file folder from my computer desktop to yearly external hard drive. I have a 10TB G-Drive external hard drive connected to my desktop computer for every year. After I’m done with a wedding, I will copy/paste all of the files from that wedding to this hard drive for archival purposes. These hard drives are put into a fireproof safe after 2-3 years of use.
- Copy/paste the working file folder from yearly external hard drive to QNAP NAS server. I also have an 8-bay QNAP NAS server that holds all of my archives. I typically copy/paste weddings to the server once per quarter and this allows me to access all of my work from any computer in my home. Additionally, this server is backed up to the cloud for additional safe keeping.
- Return SD card to case for reuse. Now that the wedding is edited, backed up, and delivered to the client, I can format and re-shoot on the SD card from that wedding.

I’ll be honest… I own a LOT of CF + SD cards. For me, having plenty of memory cards to use gives me the peace of mind I want and need for my business. I know I’m never going to run out of cards to use. I can safely set aside two SD cards (one for me, one for my second shooter) after each wedding and not need to use those SD cards again until the wedding is done + delivered in a few weeks. Trust me – the cost of extra memory cards pales in comparison to the potential cost from the loss of a client’s images.
Along with my backup process, I also use a fairly straightforward method of organizing my files.
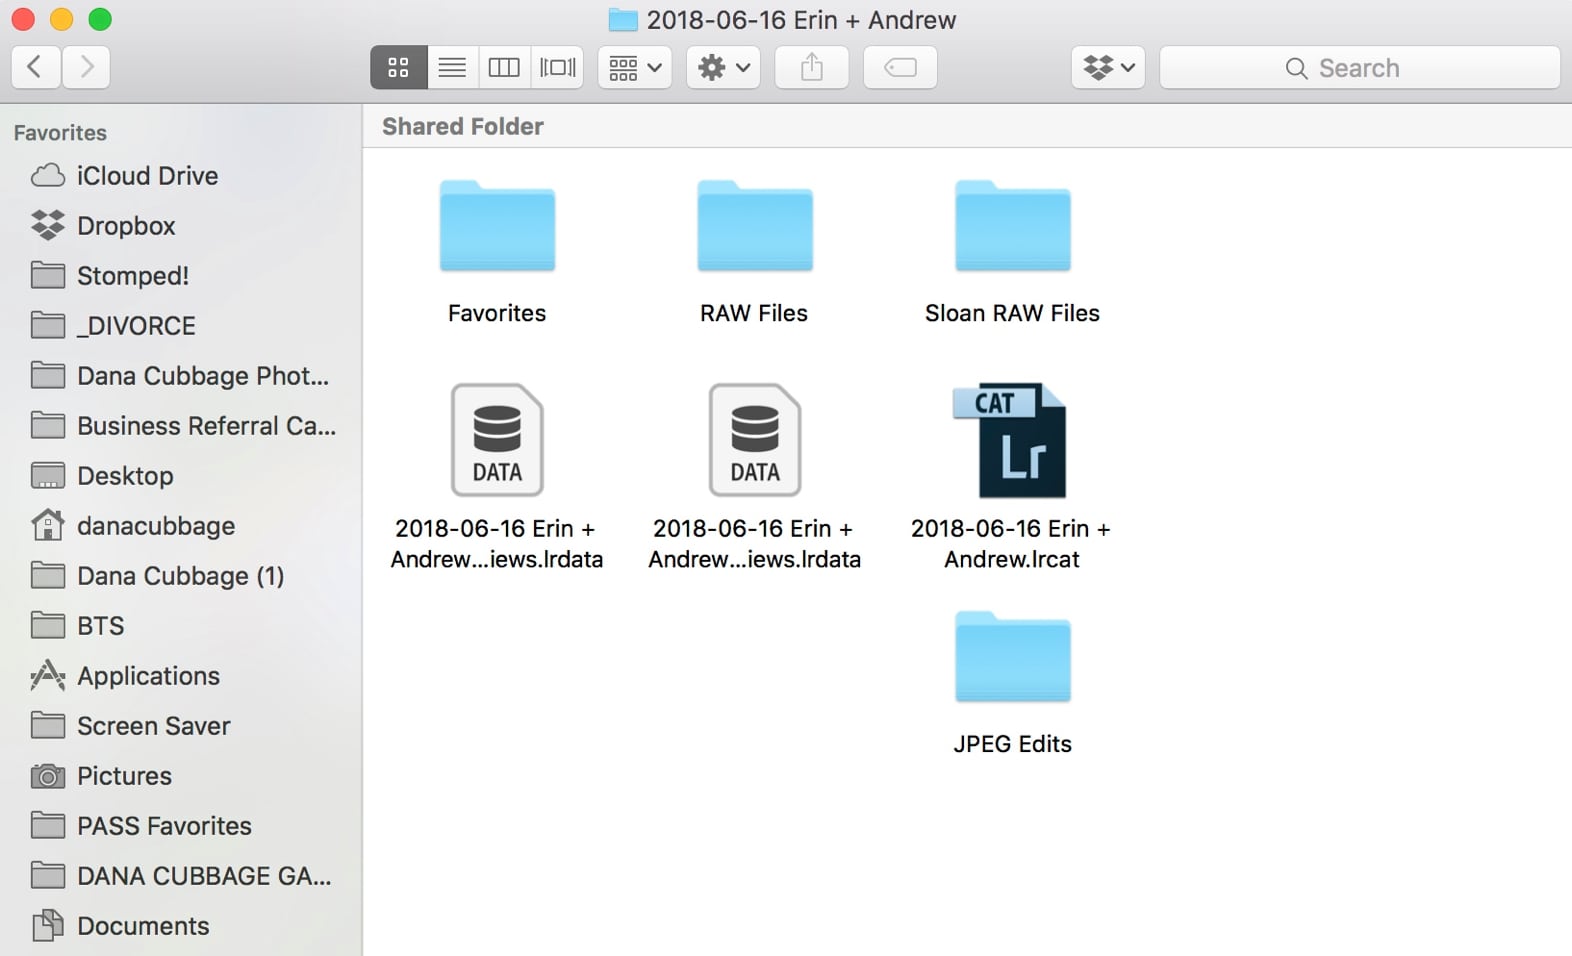
For every session or wedding, I create a new folder and I name it “YY-MM-DD Bride’s First Name + Groom’s First Name”. Inside of this main folder, there will be 3+ additional photos named:
- RAW Files – this is where ALL of the RAW files from the wedding or session are saved
- Second Shooter RAW Files – this folder only exists for weddings, but this is where ALL of my second shooter’s RAW files are saved
- Favorites – this is where I save all of the edited JPEG images that are marked as my favorites
- JPEG Edits – this is where I save ALL of the edited JPEG images from the wedding or session
Within the main folder, I also save the Lightroom Catalog for each wedding. I am archiving all of this information once the wedding or session is officially delivered to the clients.
I hope this gives you some insight into my backup and organization process for my photos. If you have any questions, please leave them below and I’ll try to answer them for you!!
With a well-worn passport in hand, and an affinity for a good cocktail, Dana works with fun-loving and kind-hearted clients around the globe.
meet DANA
2025 got off to the very best start with Maggie + Britt! I absolutely ADORE these two and their wedding day was the perfect way to start the new year. Their shared love of the water and all of the natural beauty that the Lowcountry has to offer made the Regatta Inn a no-brainer choice […]
Payton + Connor’s rainy celebration at Lowndes Grove was the PERFECT way to close out the 2024 wedding season. When I first spoke with Payton, she told me that she envisioned a colorful wedding day – despite being married in late December. I LOVE that she went with bright florals and colors because it was […]
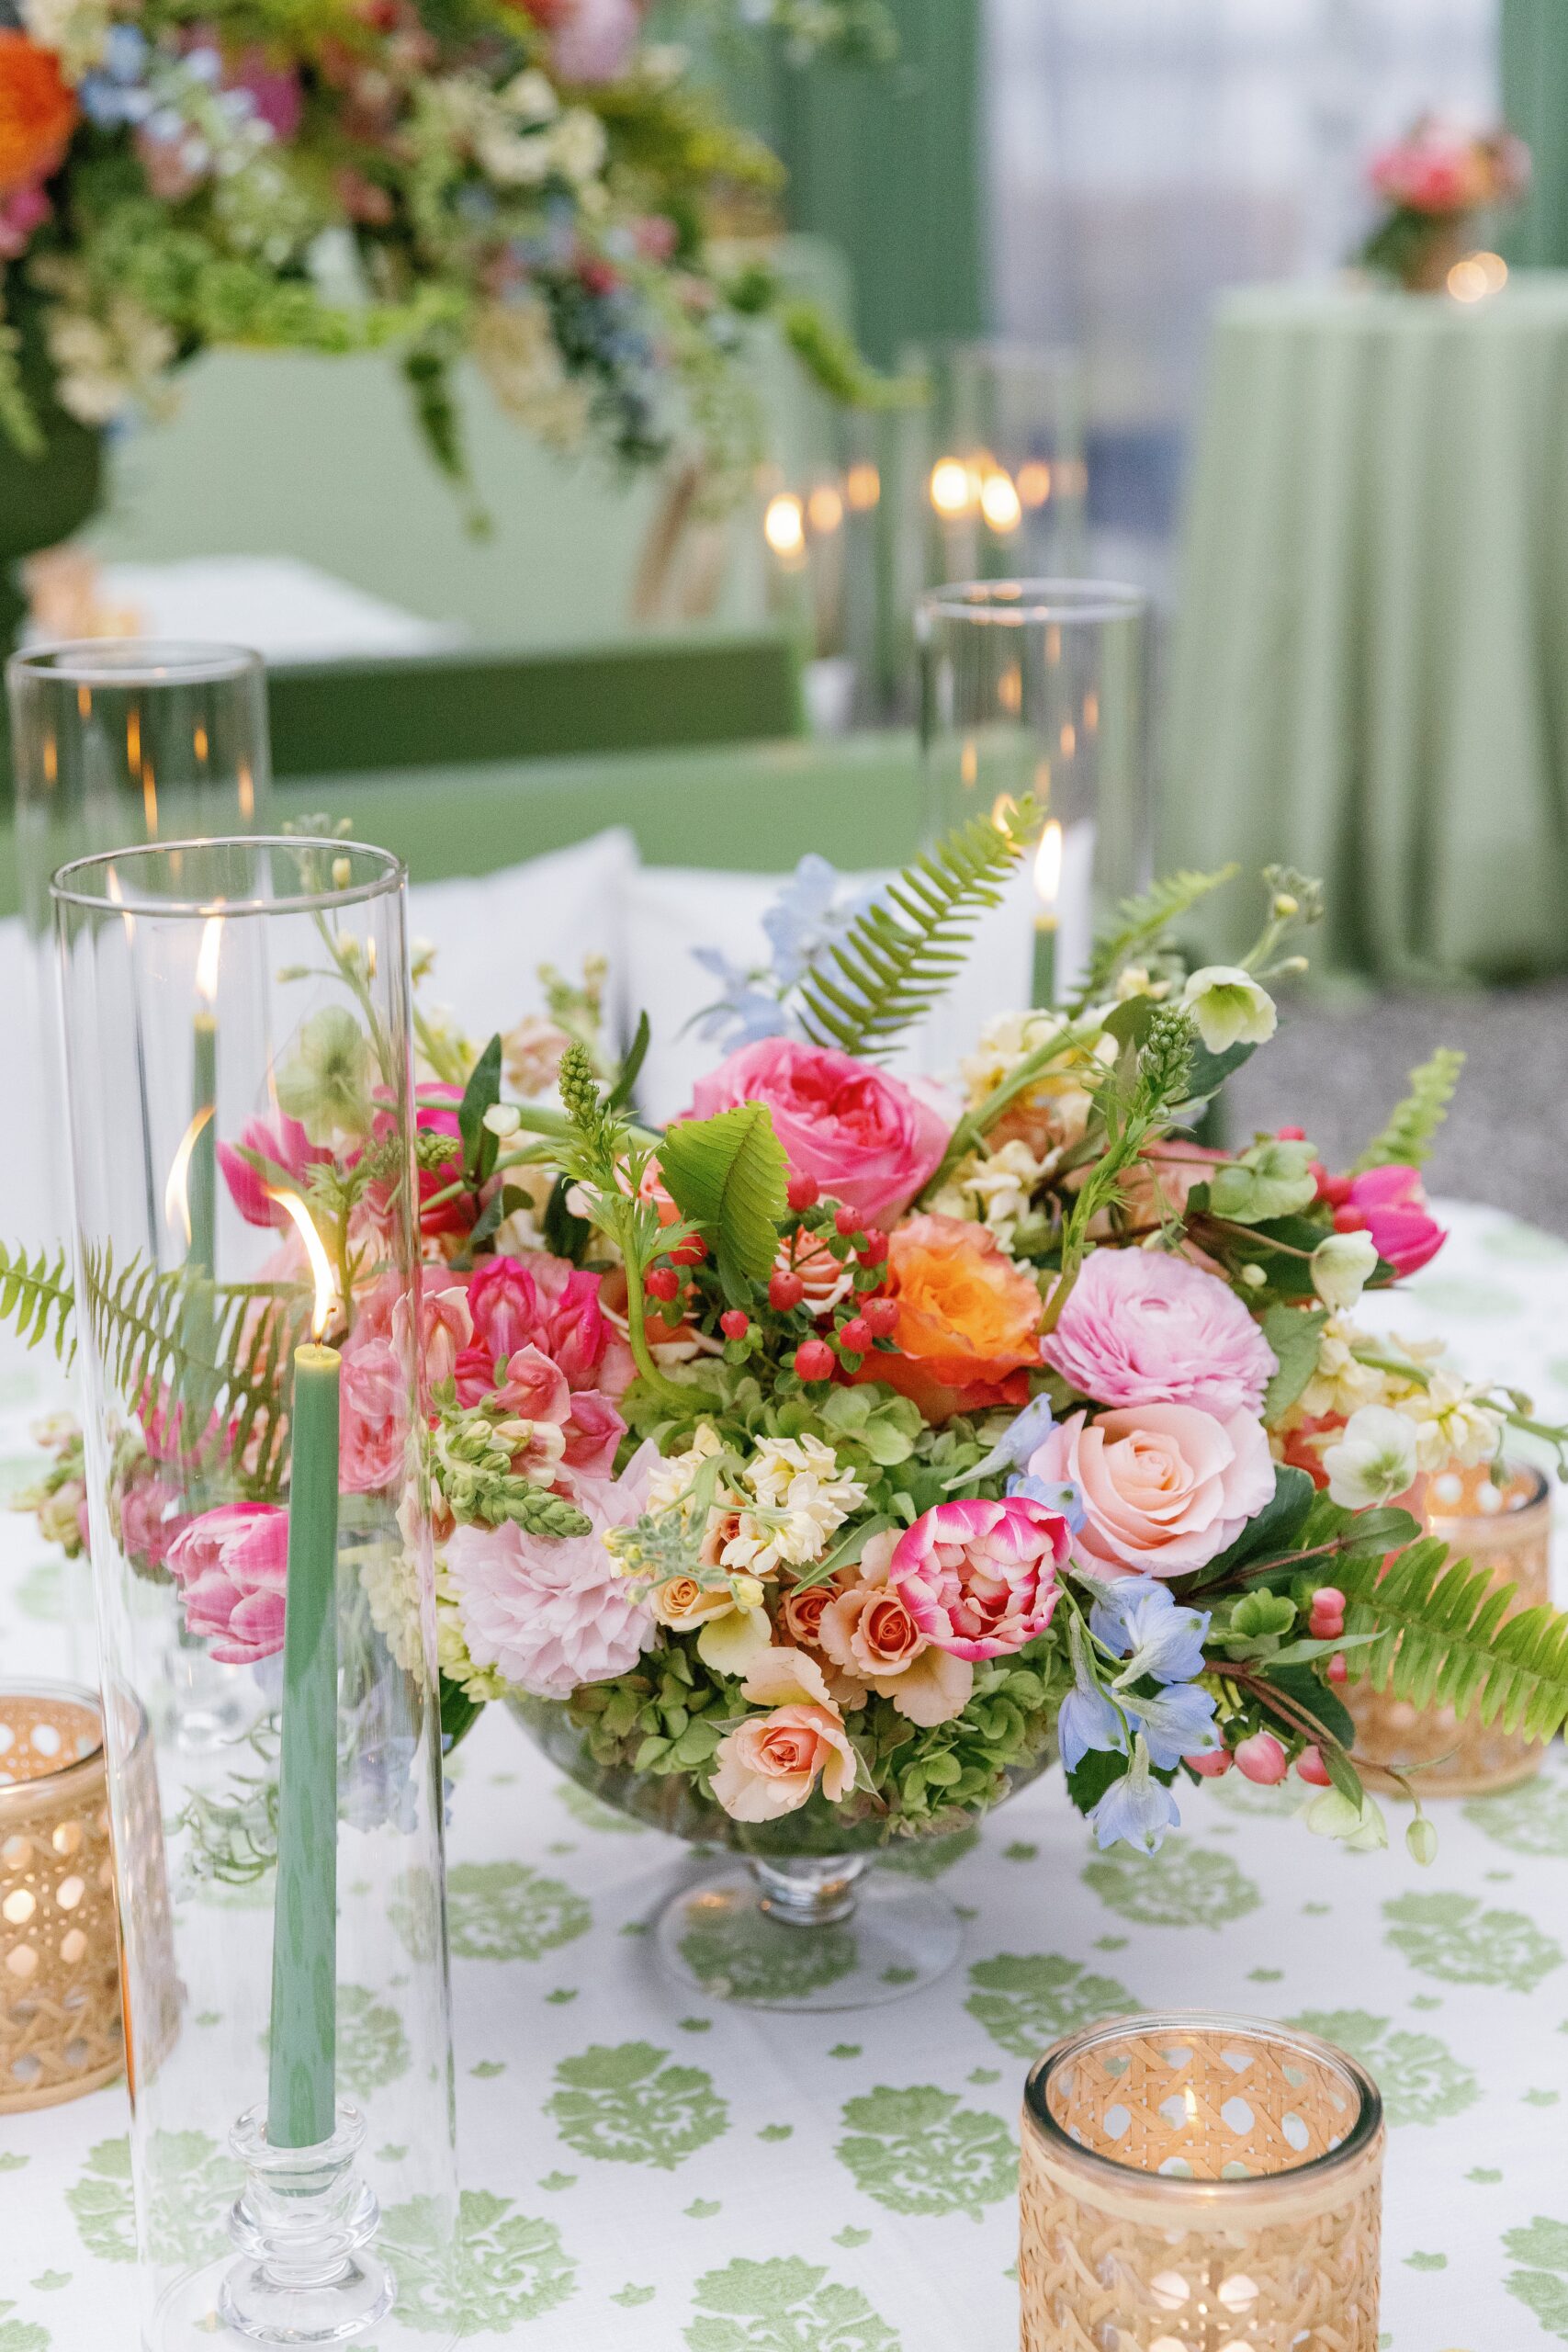
Hannah + Matt’s intimate brunch wedding at The Sanctuary on Kiawah was such a special celebration. If there are two things I LOVE, it’s an intimate wedding and brunch! Combine them together and it’s the perfect recipe for a memorable soiree. Can I specialize in brunch weddings? Pretty please?! I just love them! The morning […]
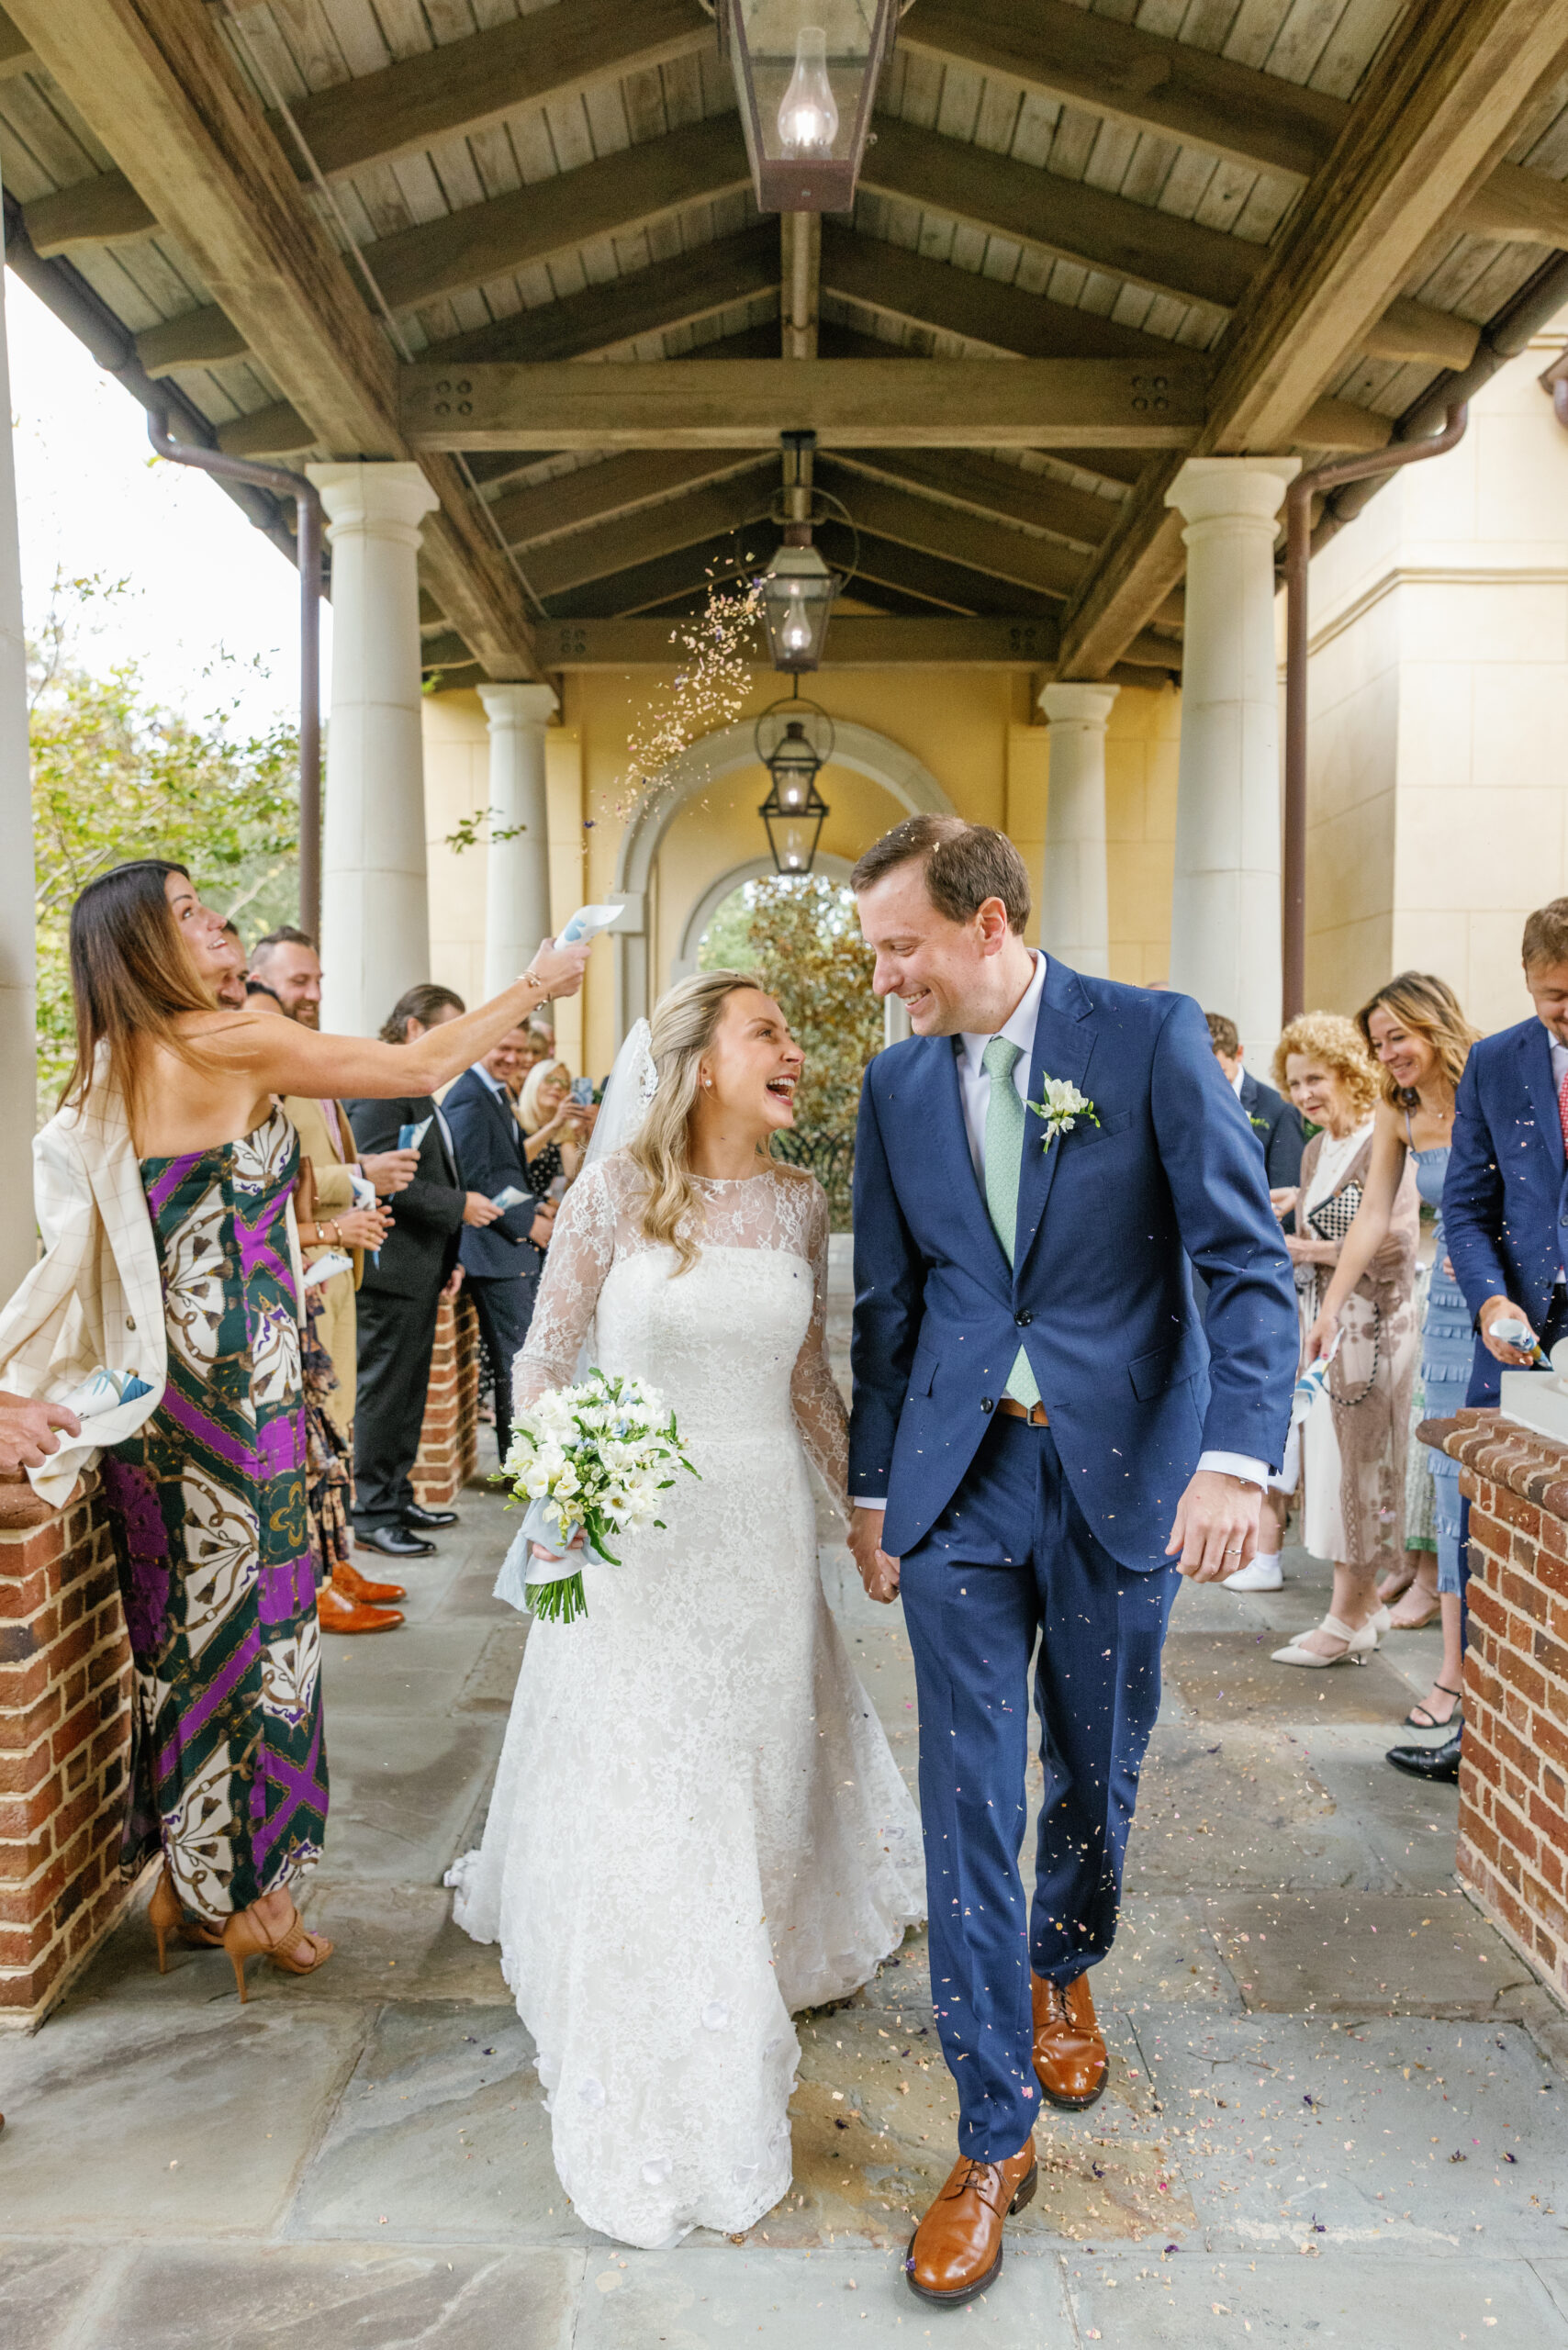
Ashley + Kyle’s wedding day was, in a word, magic. These two share such a beautiful love and I am beyond thankful to have witnessed it first hand. Ashley is pure JOY in human form and she absolutely glows in Kyle’s presence. The way they look at each other and care for each other is […]
From the moment I first spoke to Sandra, I knew her wedding day was going to be something special. She had a clear vision of a day filled with special details, personalized moments, and a celebration of love that was truly unique to her and Matt’s love story. Being in the fashion world, I knew […]
There’s something undeniably magical about Charleston SC. The cobblestone alleyways, the historic charm, and the gentle breeze off of the water – which creates the perfect setting for love to flourish. When I had the opportunity to capture Hannah + Ashley’s engagement session on an overcast day this past September, I knew it would be […]
entries
popular
