People often ask me how I’m able to stay so organized and run such an efficient business. The answer is – my workflow. I’m not going to lie – running the business side of things is extremely hard work and it takes a lot of discipline – but for me, I absolutely love the business side of wedding photography. Workflow seems to be one of those things that can really make a huge difference in whether you’re growing your business or just stuck maintaining it. My workflow is always a work in progress and I’m ALWAYS looking for ways to streamline and improve my workflow, but this is what it looks like right now – from booking to delivery:
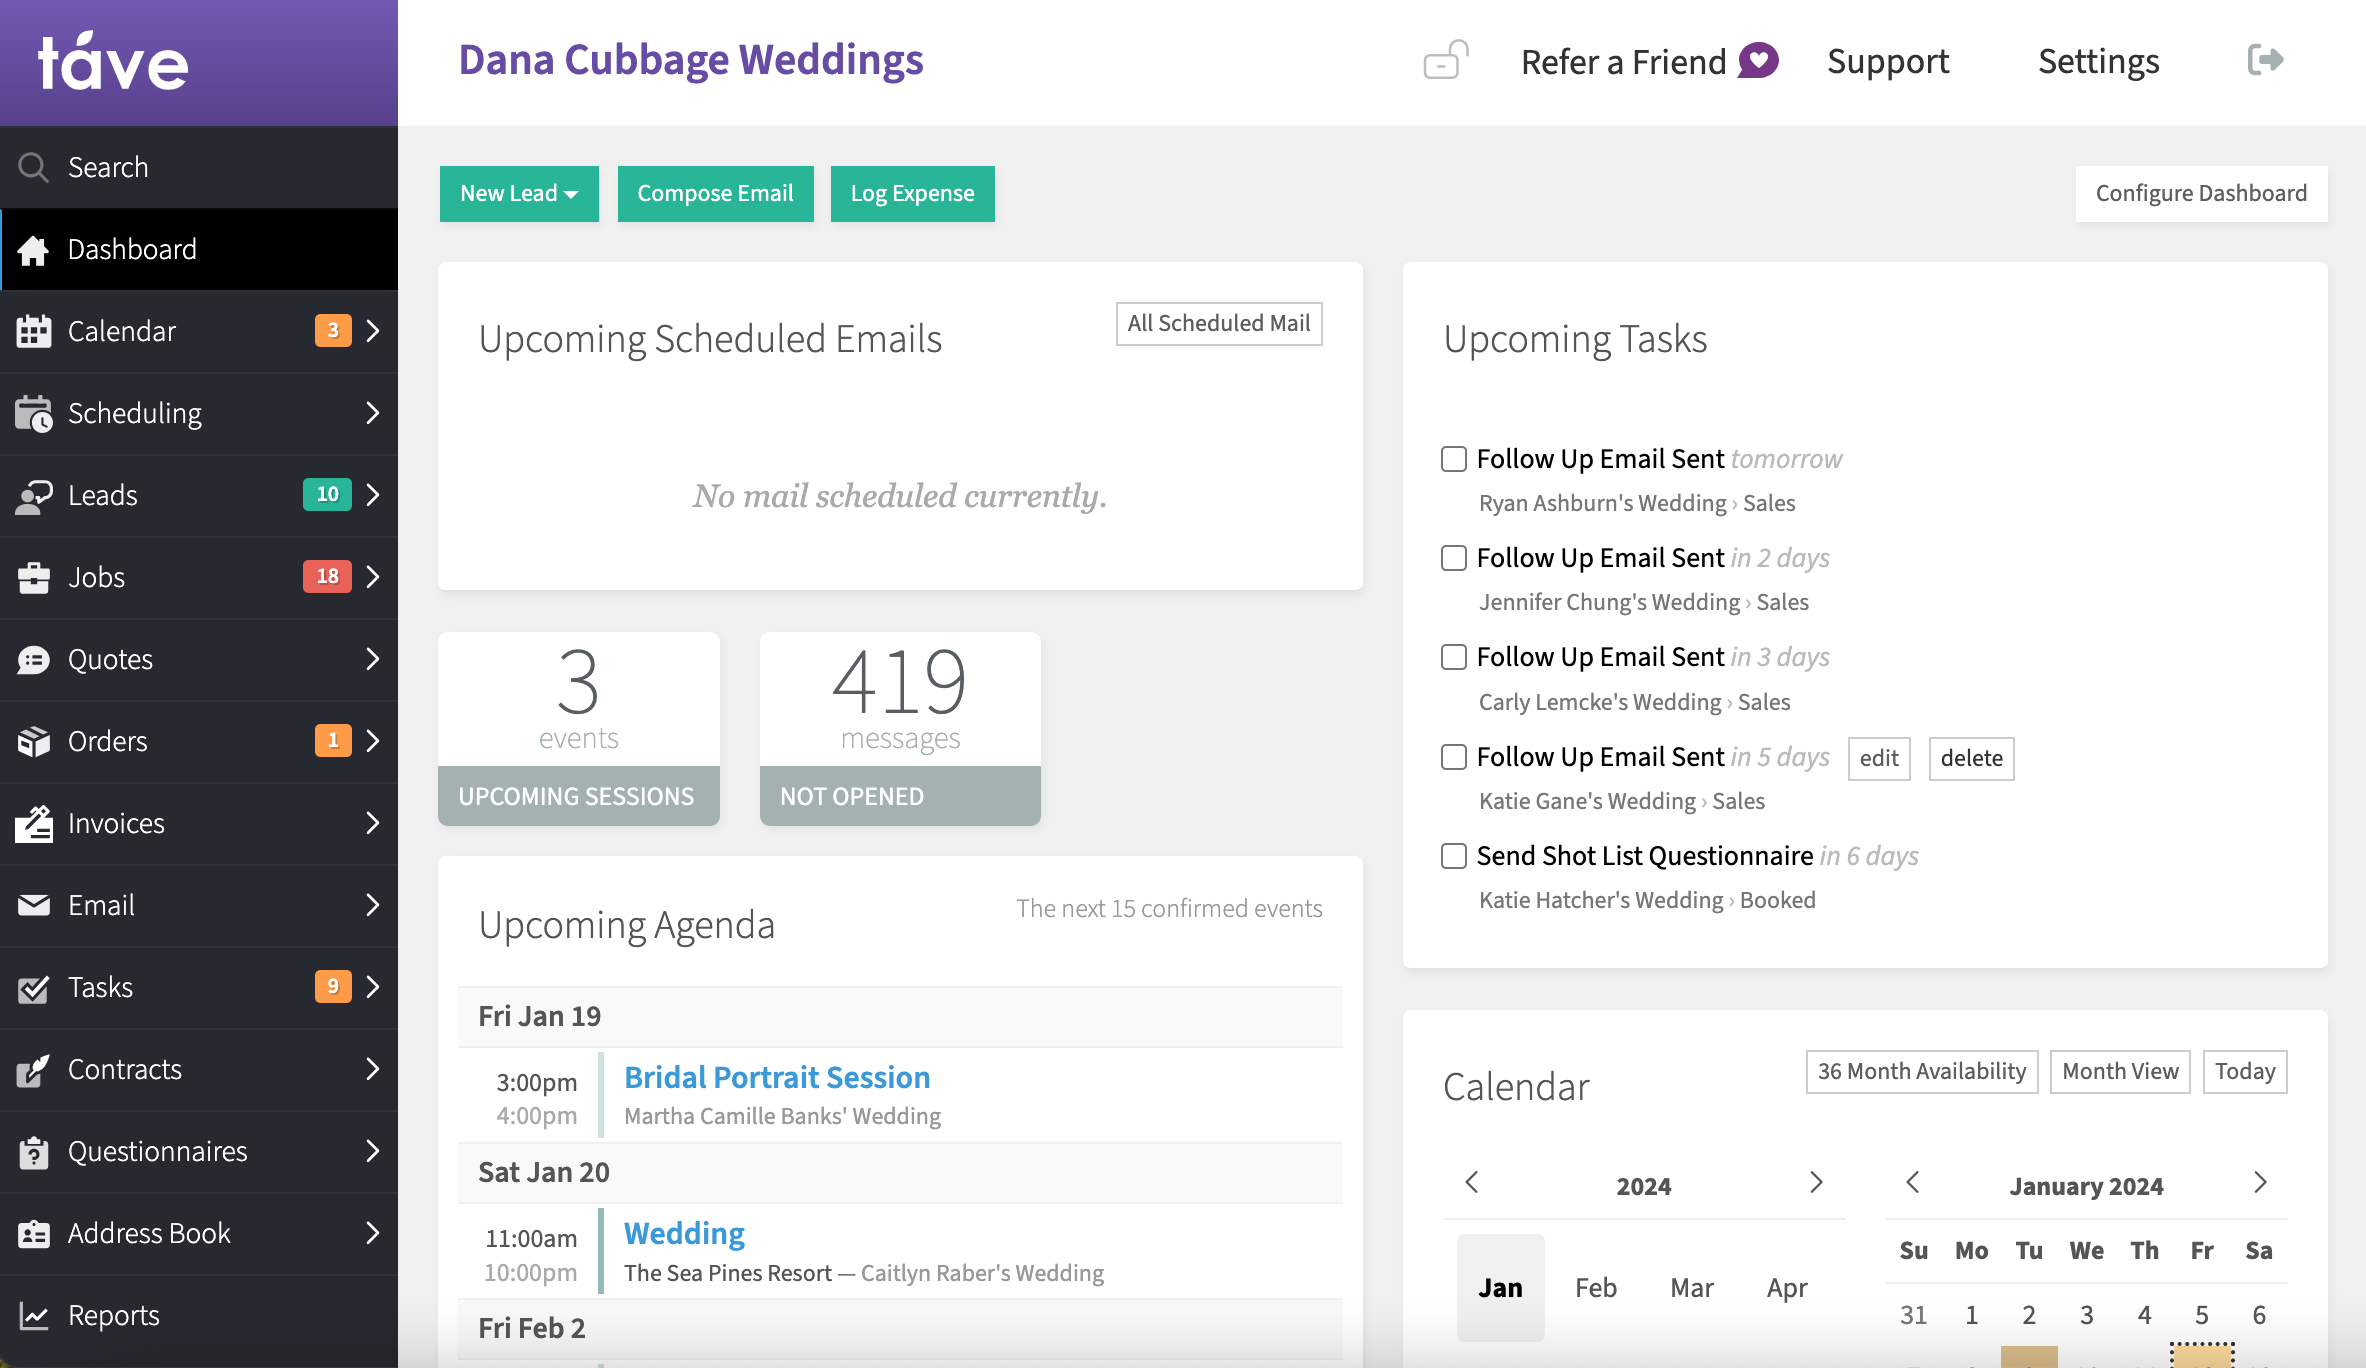
Upon receiving a signed contract + retainer, the wedding is considered “officially booked”. All pertinent info has already been entered into Tave, my studio management software – this is also where my contracts reside. Let me just preface this by saying that Tave is AMAZING and I have no idea how I would possibly stay organized without it. If you’ve been thinking about investing in studio management, I cannot recommend Tave highly enough. I tried several programs and Tave was the easiest for me to understand and set up, by far.
Tave keeps track of everything for me, since I’ve set up custom workflows for each type of job (wedding, engagement session, etc). Upcoming tasks, my agenda, accounts receivable… they are all located on my Tave dashboard, so every morning I can see exactly what’s going on today and throughout the week. It’s truly a lifesaver.
 After the reception, my workflow really ramps up. On the night of the wedding, I come home and upload all of my RAW files to my desktop computer and I set aside the media cards until the wedding is done being edited, delivered, and backed up. I create a folder on my desktop computer for all of my files from the wedding titled “YYYY-MM-DD Bride + Groom” and within that folder, I have two other folders – one titled “RAW Files” for my own files and “Second Shooter’s RAW Files” for my second shooter’s files. These files – my working files – are kept on my computer’s desktop, which is backed up continuously using Backblaze. I also save a copy of the RAW files on a portable SSD drive. Overkill? Maybe. But I do not take any chances when it comes to my clients’ images!
I always try to post a sneak peek to Instagram within 24-48 hours of the wedding, usually the next day. I randomly choose a favorite image of the couple and edit it myself in Lightroom, then export it as a JPEG. From there, I import the photo to Later, which allows me to download the image directly to my phone. Then I post the sneak peek as an Instagram story, tagging my clients and any vendors I can.
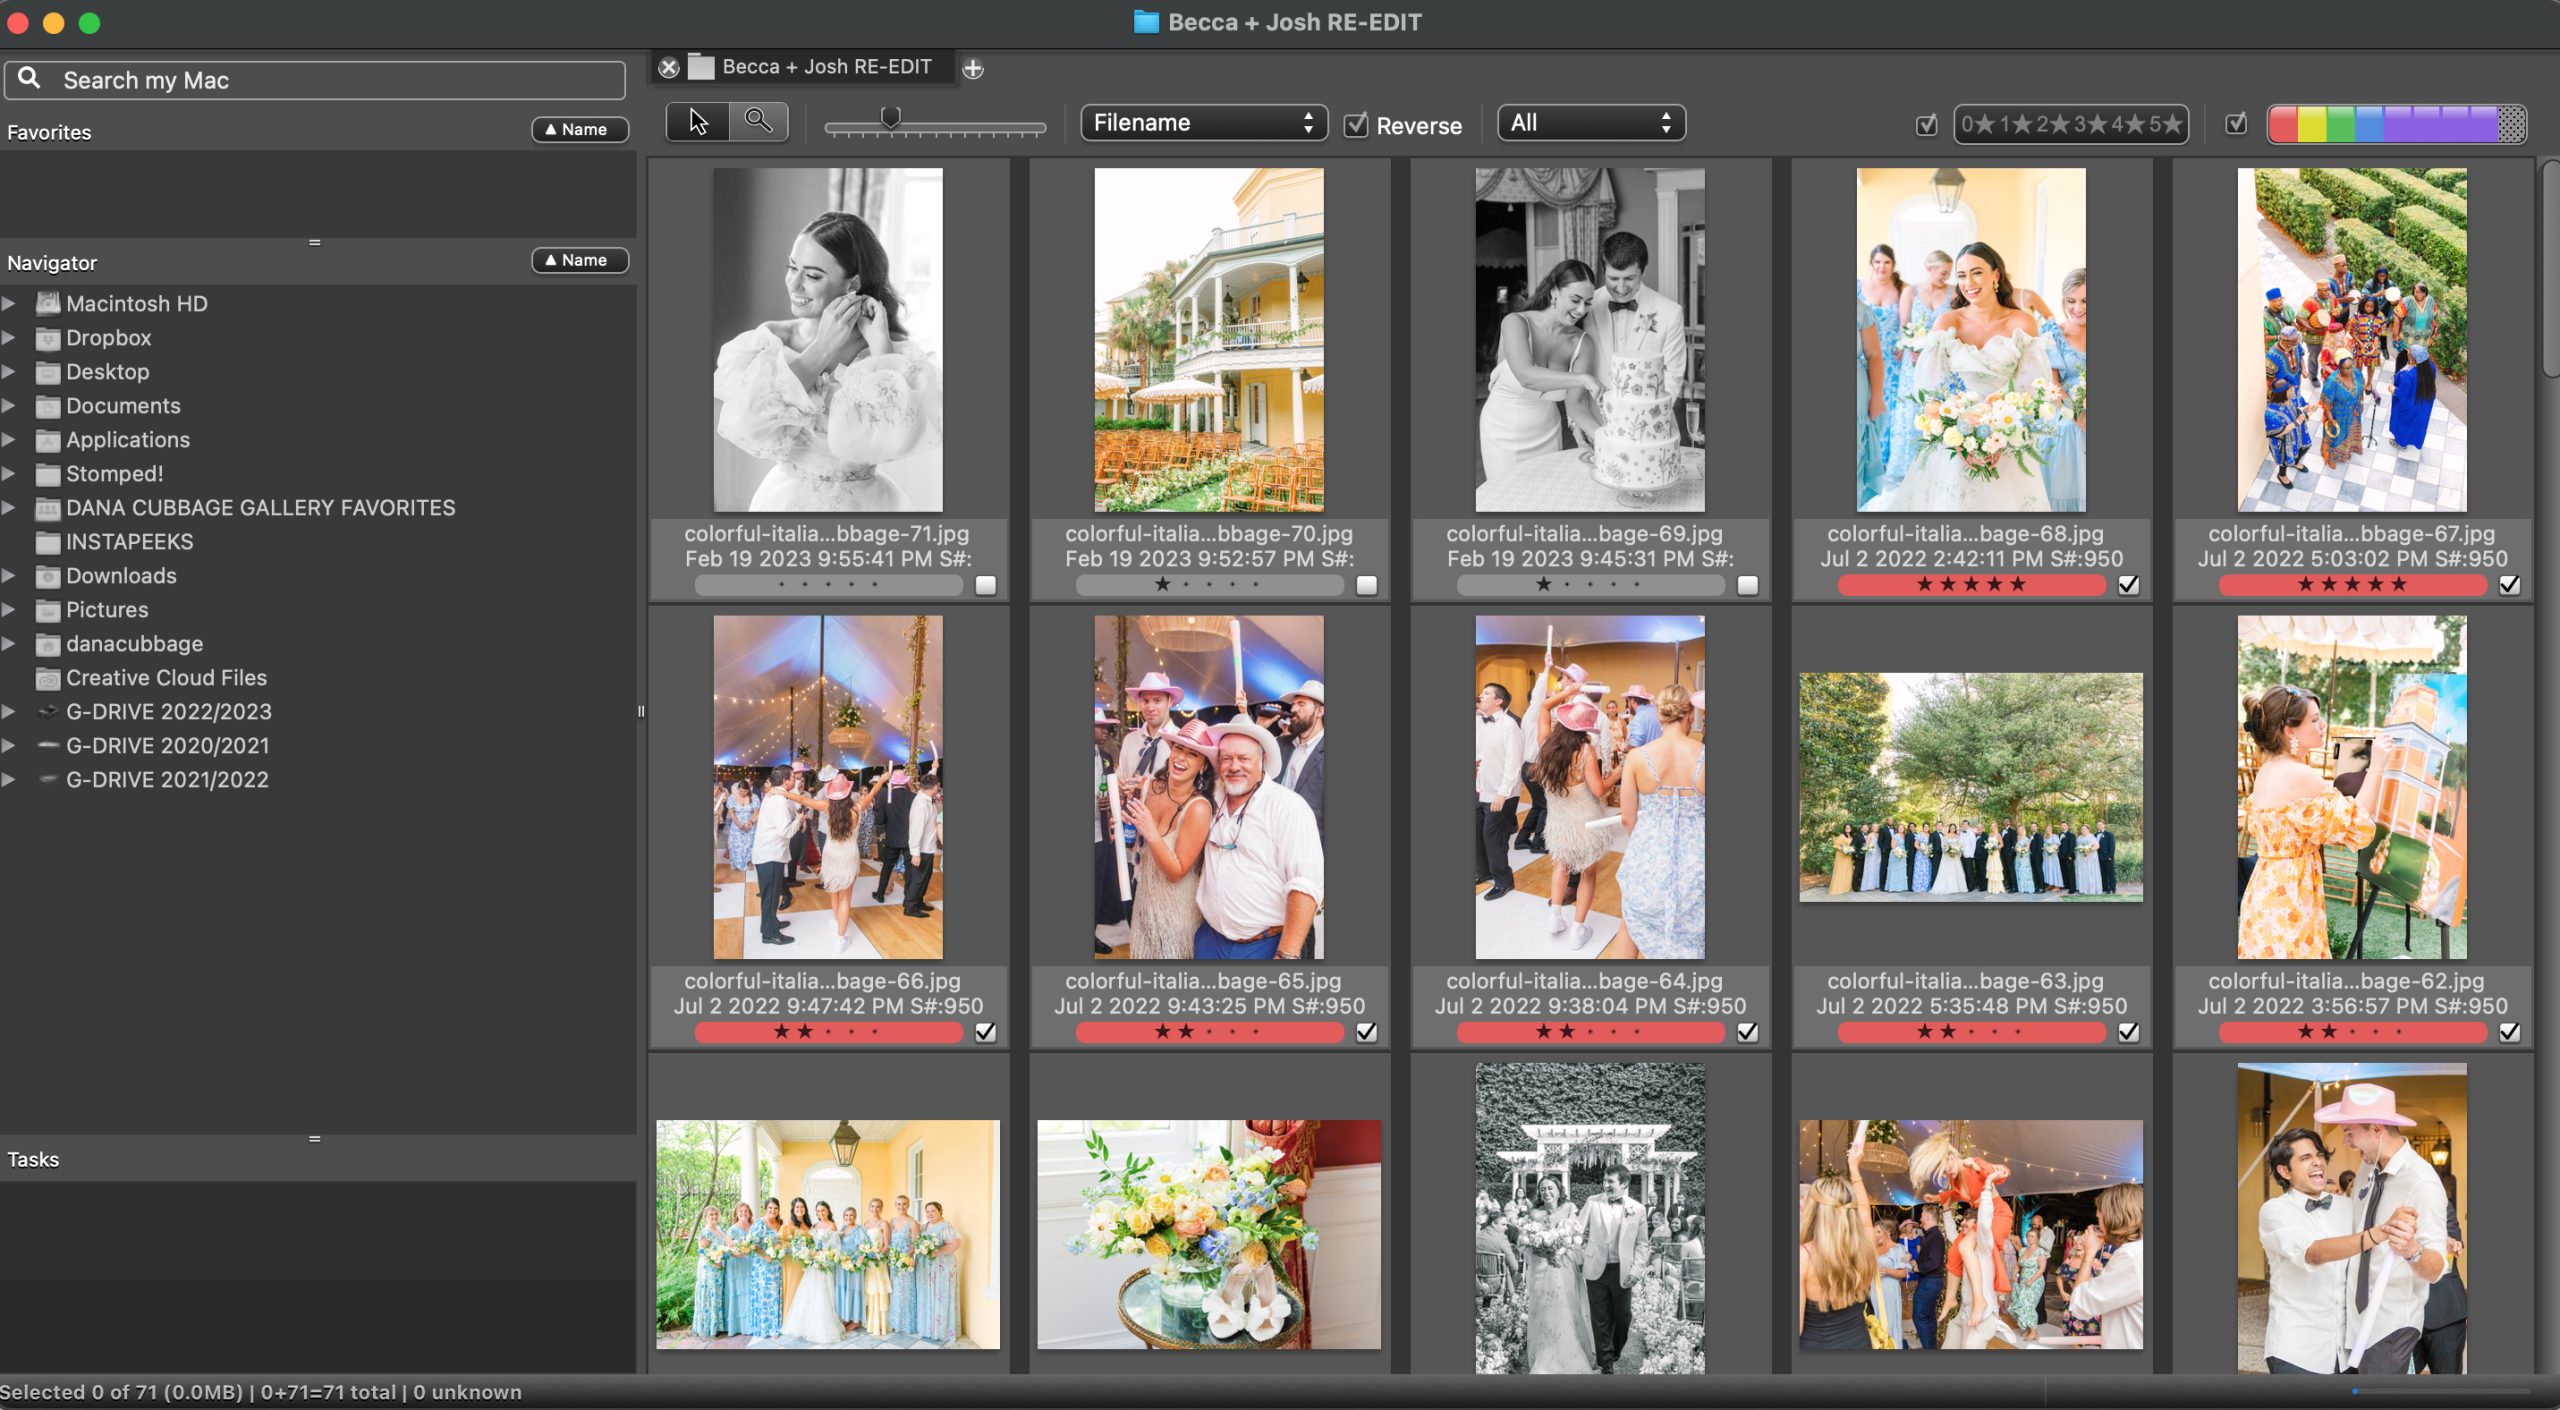
The next day, I use Photomechanic to cull my images. I start with my own RAW files and then go through my second shooter’s RAW files last – this way, the majority of the files I deliver to my clients are my images and I’m filling in the story of the wedding day with my second shooter’s images. I also cull the wedding backwards – starting with the reception and ending with the styled details/getting ready. This has definitely helped speed up the process! Once I have all of my “keepers” selected, I create a new Lightroom catalog in Lightroom and import the files via drag + drop, applying my import preset and create Smart Previews in the process. Once Lightroom is done with the import, I fully edit my favorites from the day and export those to a folder within the main folder titled “Favorites”. Then, I compress the catalog + data folders together into a zip file and upload it to Dropbox for my editor.
 I upload my edited favorites to the online gallery and deliver this “extended sneak peek” to my couple and the vendor team. I also create a 12-photo collage that I post to my Instagram stories as another peek for social media.
Over the next few days, my editor is hard at work editing my files and I can take a breather. I will prep a blog post and upload the 12-photo collage to the post – as well as link all of the appropriate vendors. I typically don’t post the blog post until a month or two later… but it’s prepped and ready to go.
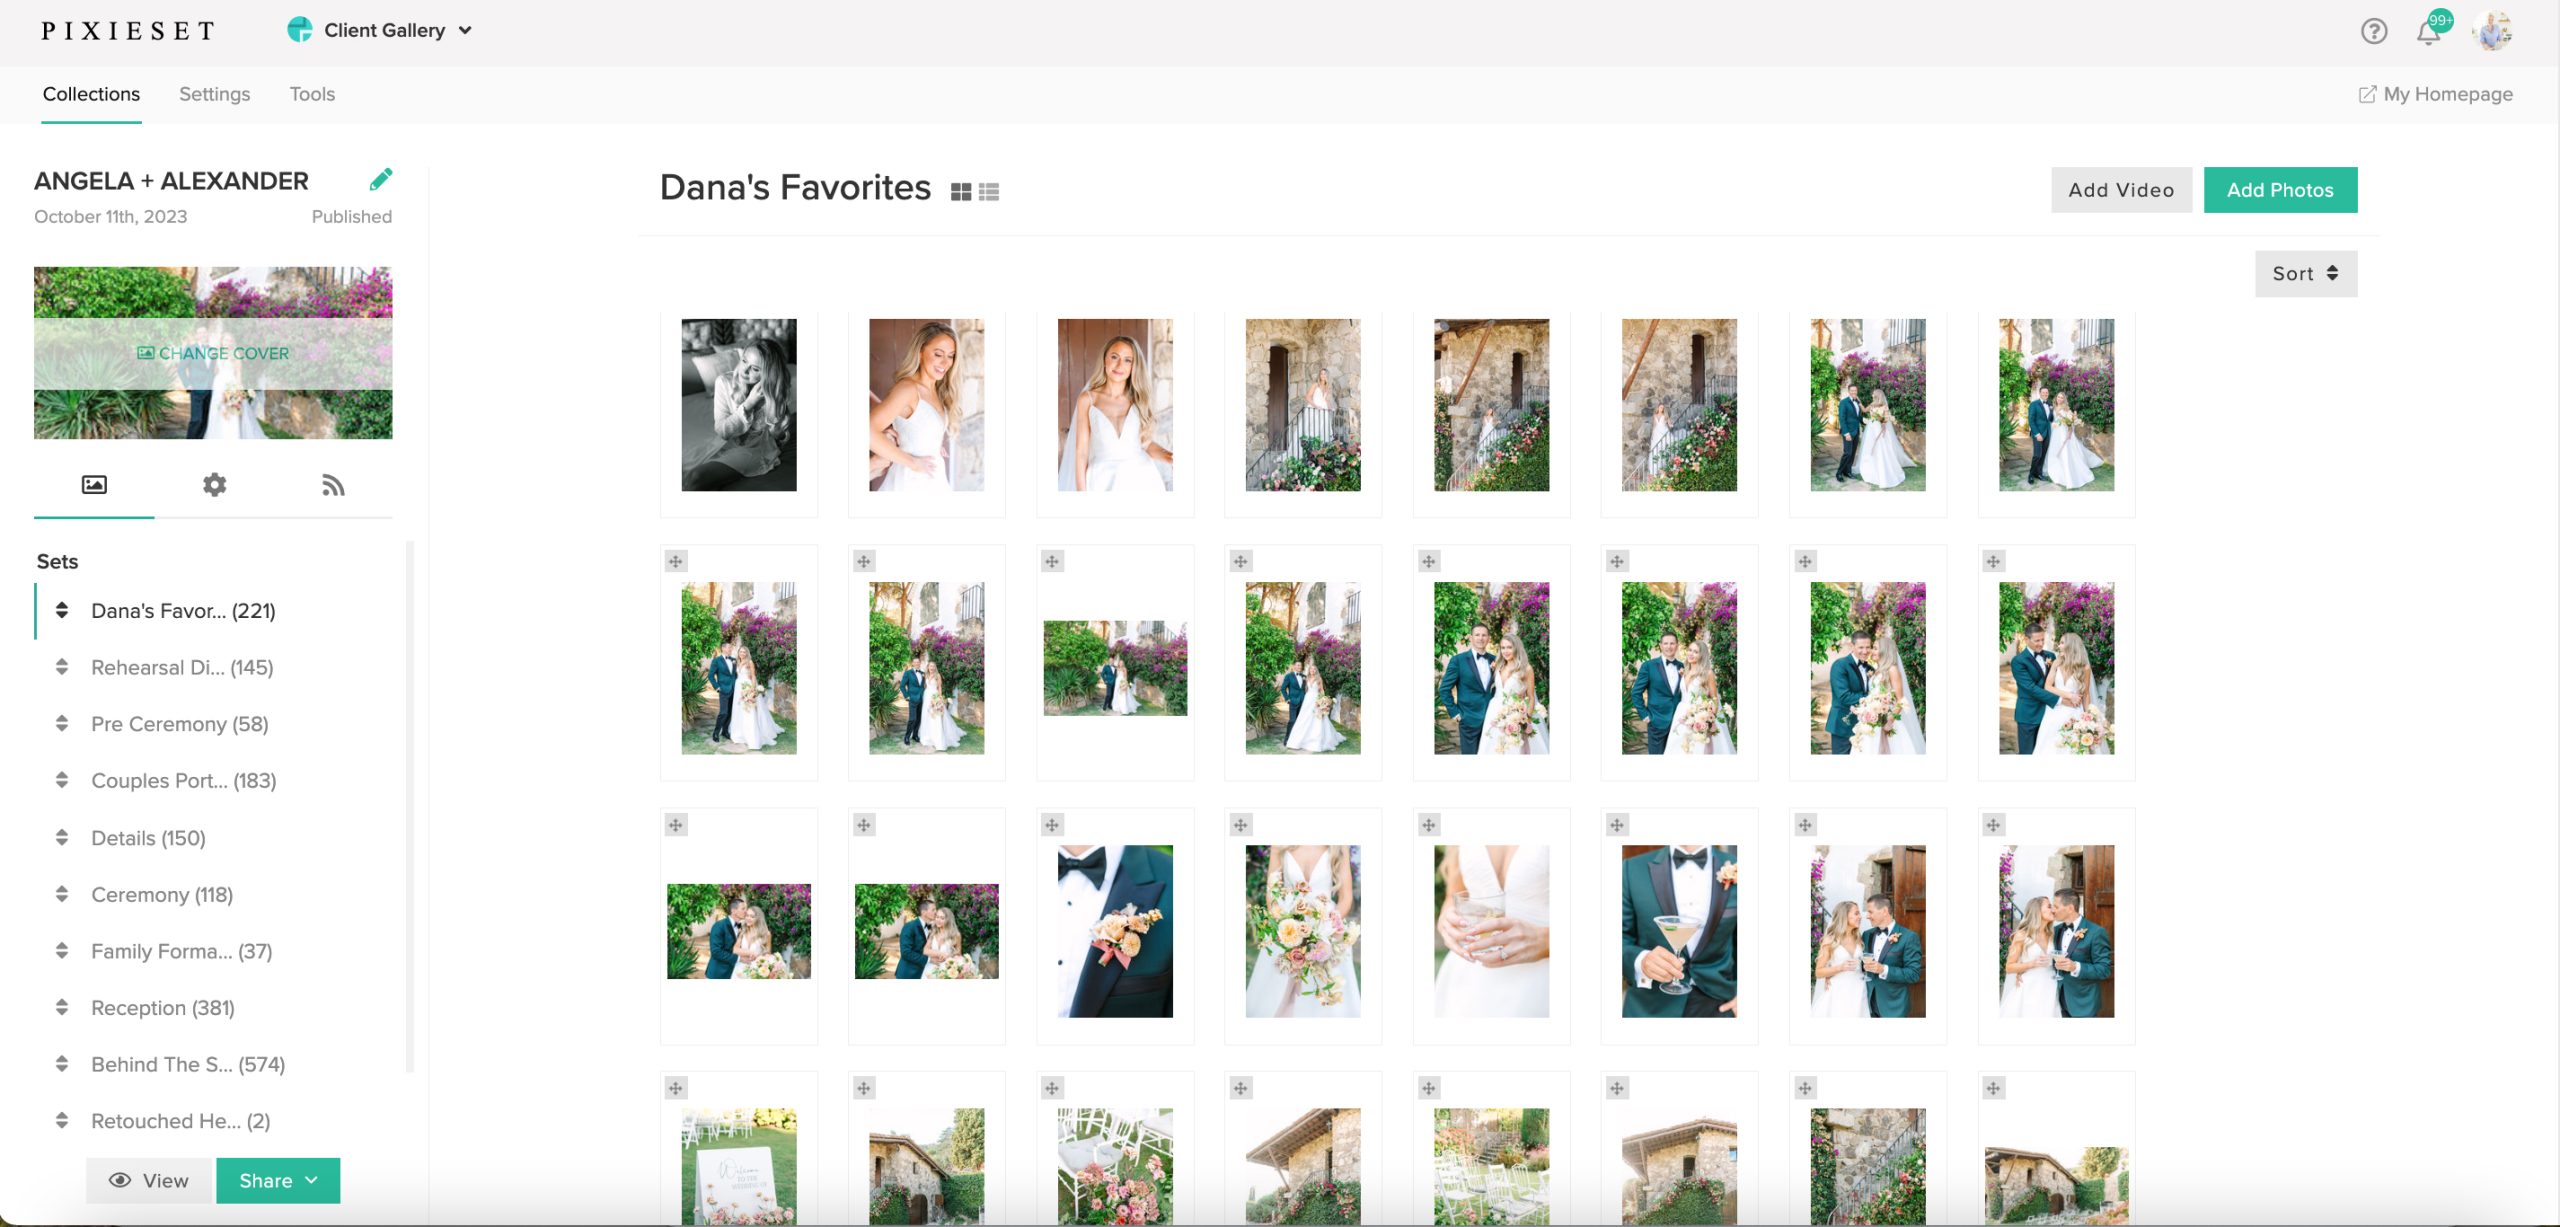
Once I get the files back from my editor, I spend about 1-2 hours going through the images one by one and making sure they are perfect. Once this is done, I export the files as JPEGs and get to work uploading the images to my client’s gallery. Currently, I use Pixieset to deliver all of my digital files and I love it!
On top of uploading to the gallery, I’m also uploading the edited JPEGs to Smugmug for backup purposes. I know, it’s totally overkill, but I don’t care. If there’s one thing I’ve learned, you can never have too many backup options!
Once the gallery is uploaded, I’ll separate the files into category folders – for example: Pre Ceremony, Family Formals, Details, etc. I double check it to make sure everything looks good and then I will email my clients with their gallery link + PIN. Then, I wait on pins and needles until I (hopefully) get an email from my clients filled with a ton of exclamation points and smiley faces!
 After delivery + online backup, I transfer the working files from my computer’s desktop to an external hard drive, delete the working files from my desktop, and return the media cards to my bag to be used again. At this point, I also draft an email to all of the wedding vendors using a template I’ve saved that gives them the gallery link + PIN. However, I do not send this email to the vendors just yet. I typically wait a day or two to be sure my couple has seen the gallery – and then I send it to the vendors.
And that, my friends, is my current wedding workflow. With that being said, I’m always on the lookout for programs that will help simplify my life, so if you know of anything that may help my workflow even more – please share!! And if you have any questions about anything, please let me know!
**Please note: some of the links in the post above are “affiliate links.” This means if you click on the link and purchase the item, I will receive an affiliate commission. Regardless, I only recommend products or services I use personally and believe will add value to my readers. I am disclosing this in accordance with the Federal Trade Commission’s 16 CFR, Part 225. “Guides Concerning the Use of Endorsements and Testimonials in Advertising.”
With a well-worn passport in hand, and an affinity for a good cocktail, Dana works with fun-loving and kind-hearted clients around the globe.
meet DANA
Becca + Stephen’s art deco inspired wedding at the American Theatre in downtown Charleston was one for the books! Their day was filled with so much love, joy, and thoughtfulness – I swear, the best weddings are always the ones that are centered around the couple and their family + friends. Sure, pretty details are […]
2025 got off to the very best start with Maggie + Britt! I absolutely ADORE these two and their wedding day was the perfect way to start the new year. Their shared love of the water and all of the natural beauty that the Lowcountry has to offer made the Regatta Inn a no-brainer choice […]
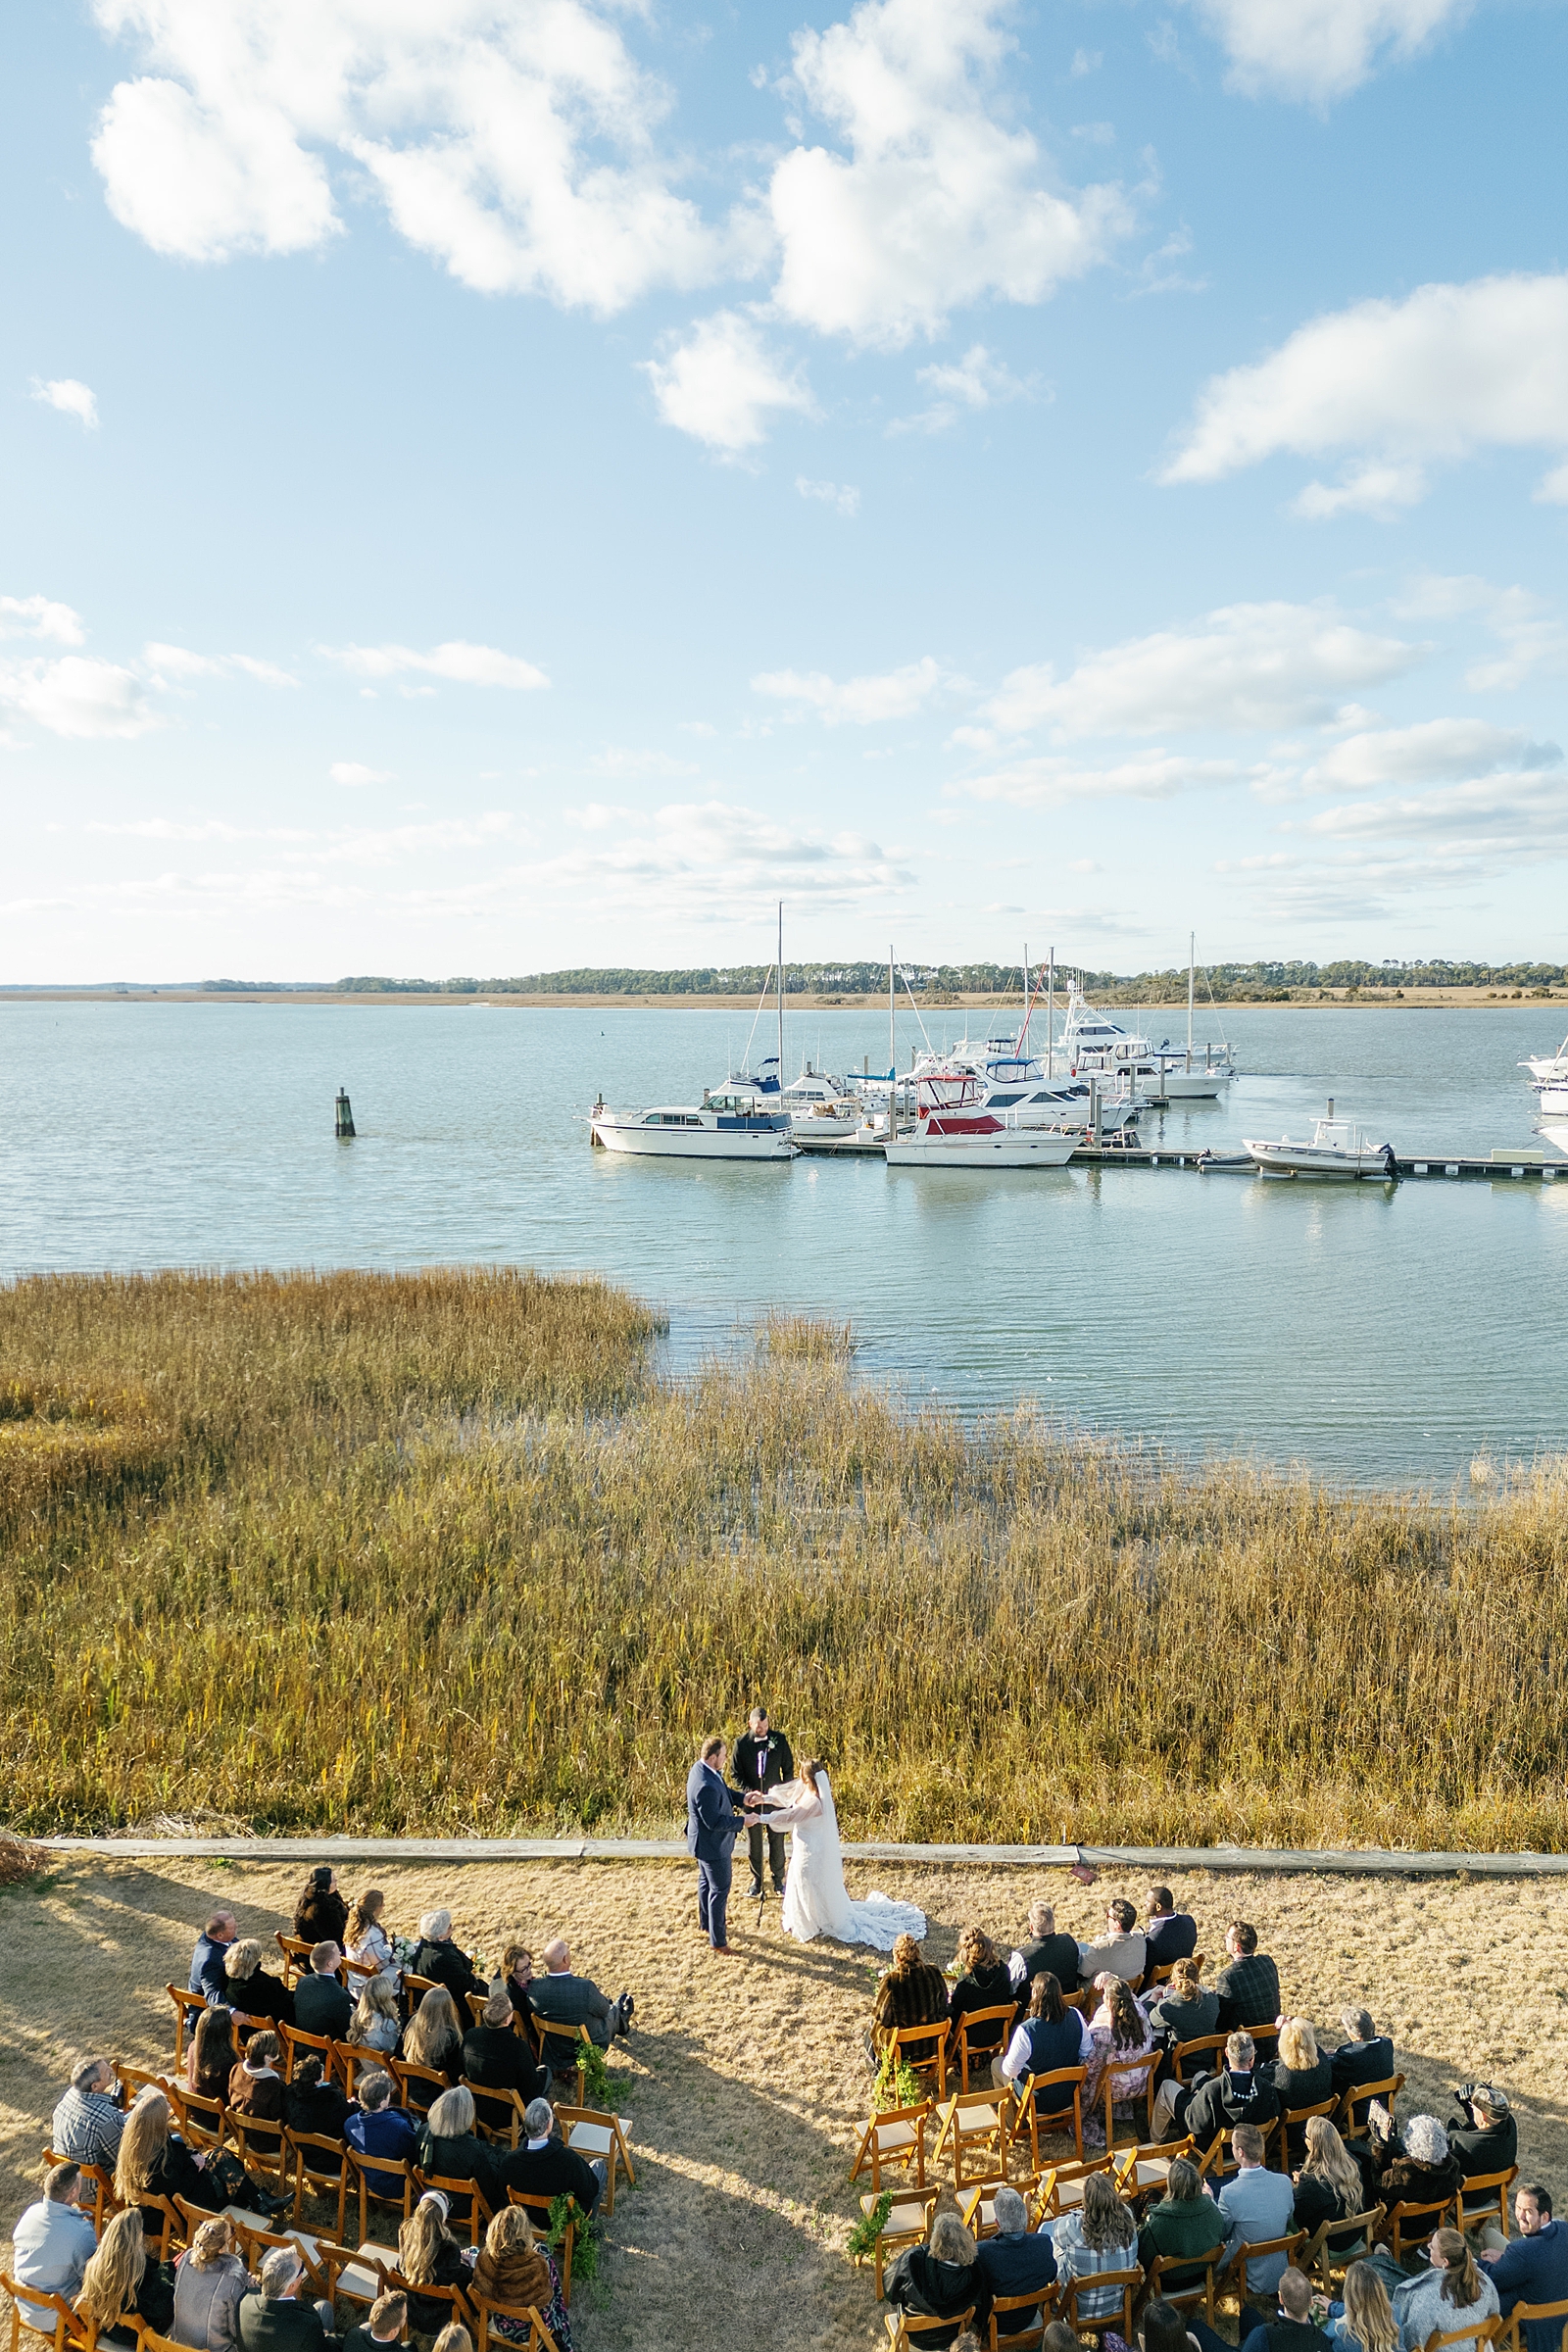
Payton + Connor’s rainy celebration at Lowndes Grove was the PERFECT way to close out the 2024 wedding season. When I first spoke with Payton, she told me that she envisioned a colorful wedding day – despite being married in late December. I LOVE that she went with bright florals and colors because it was […]
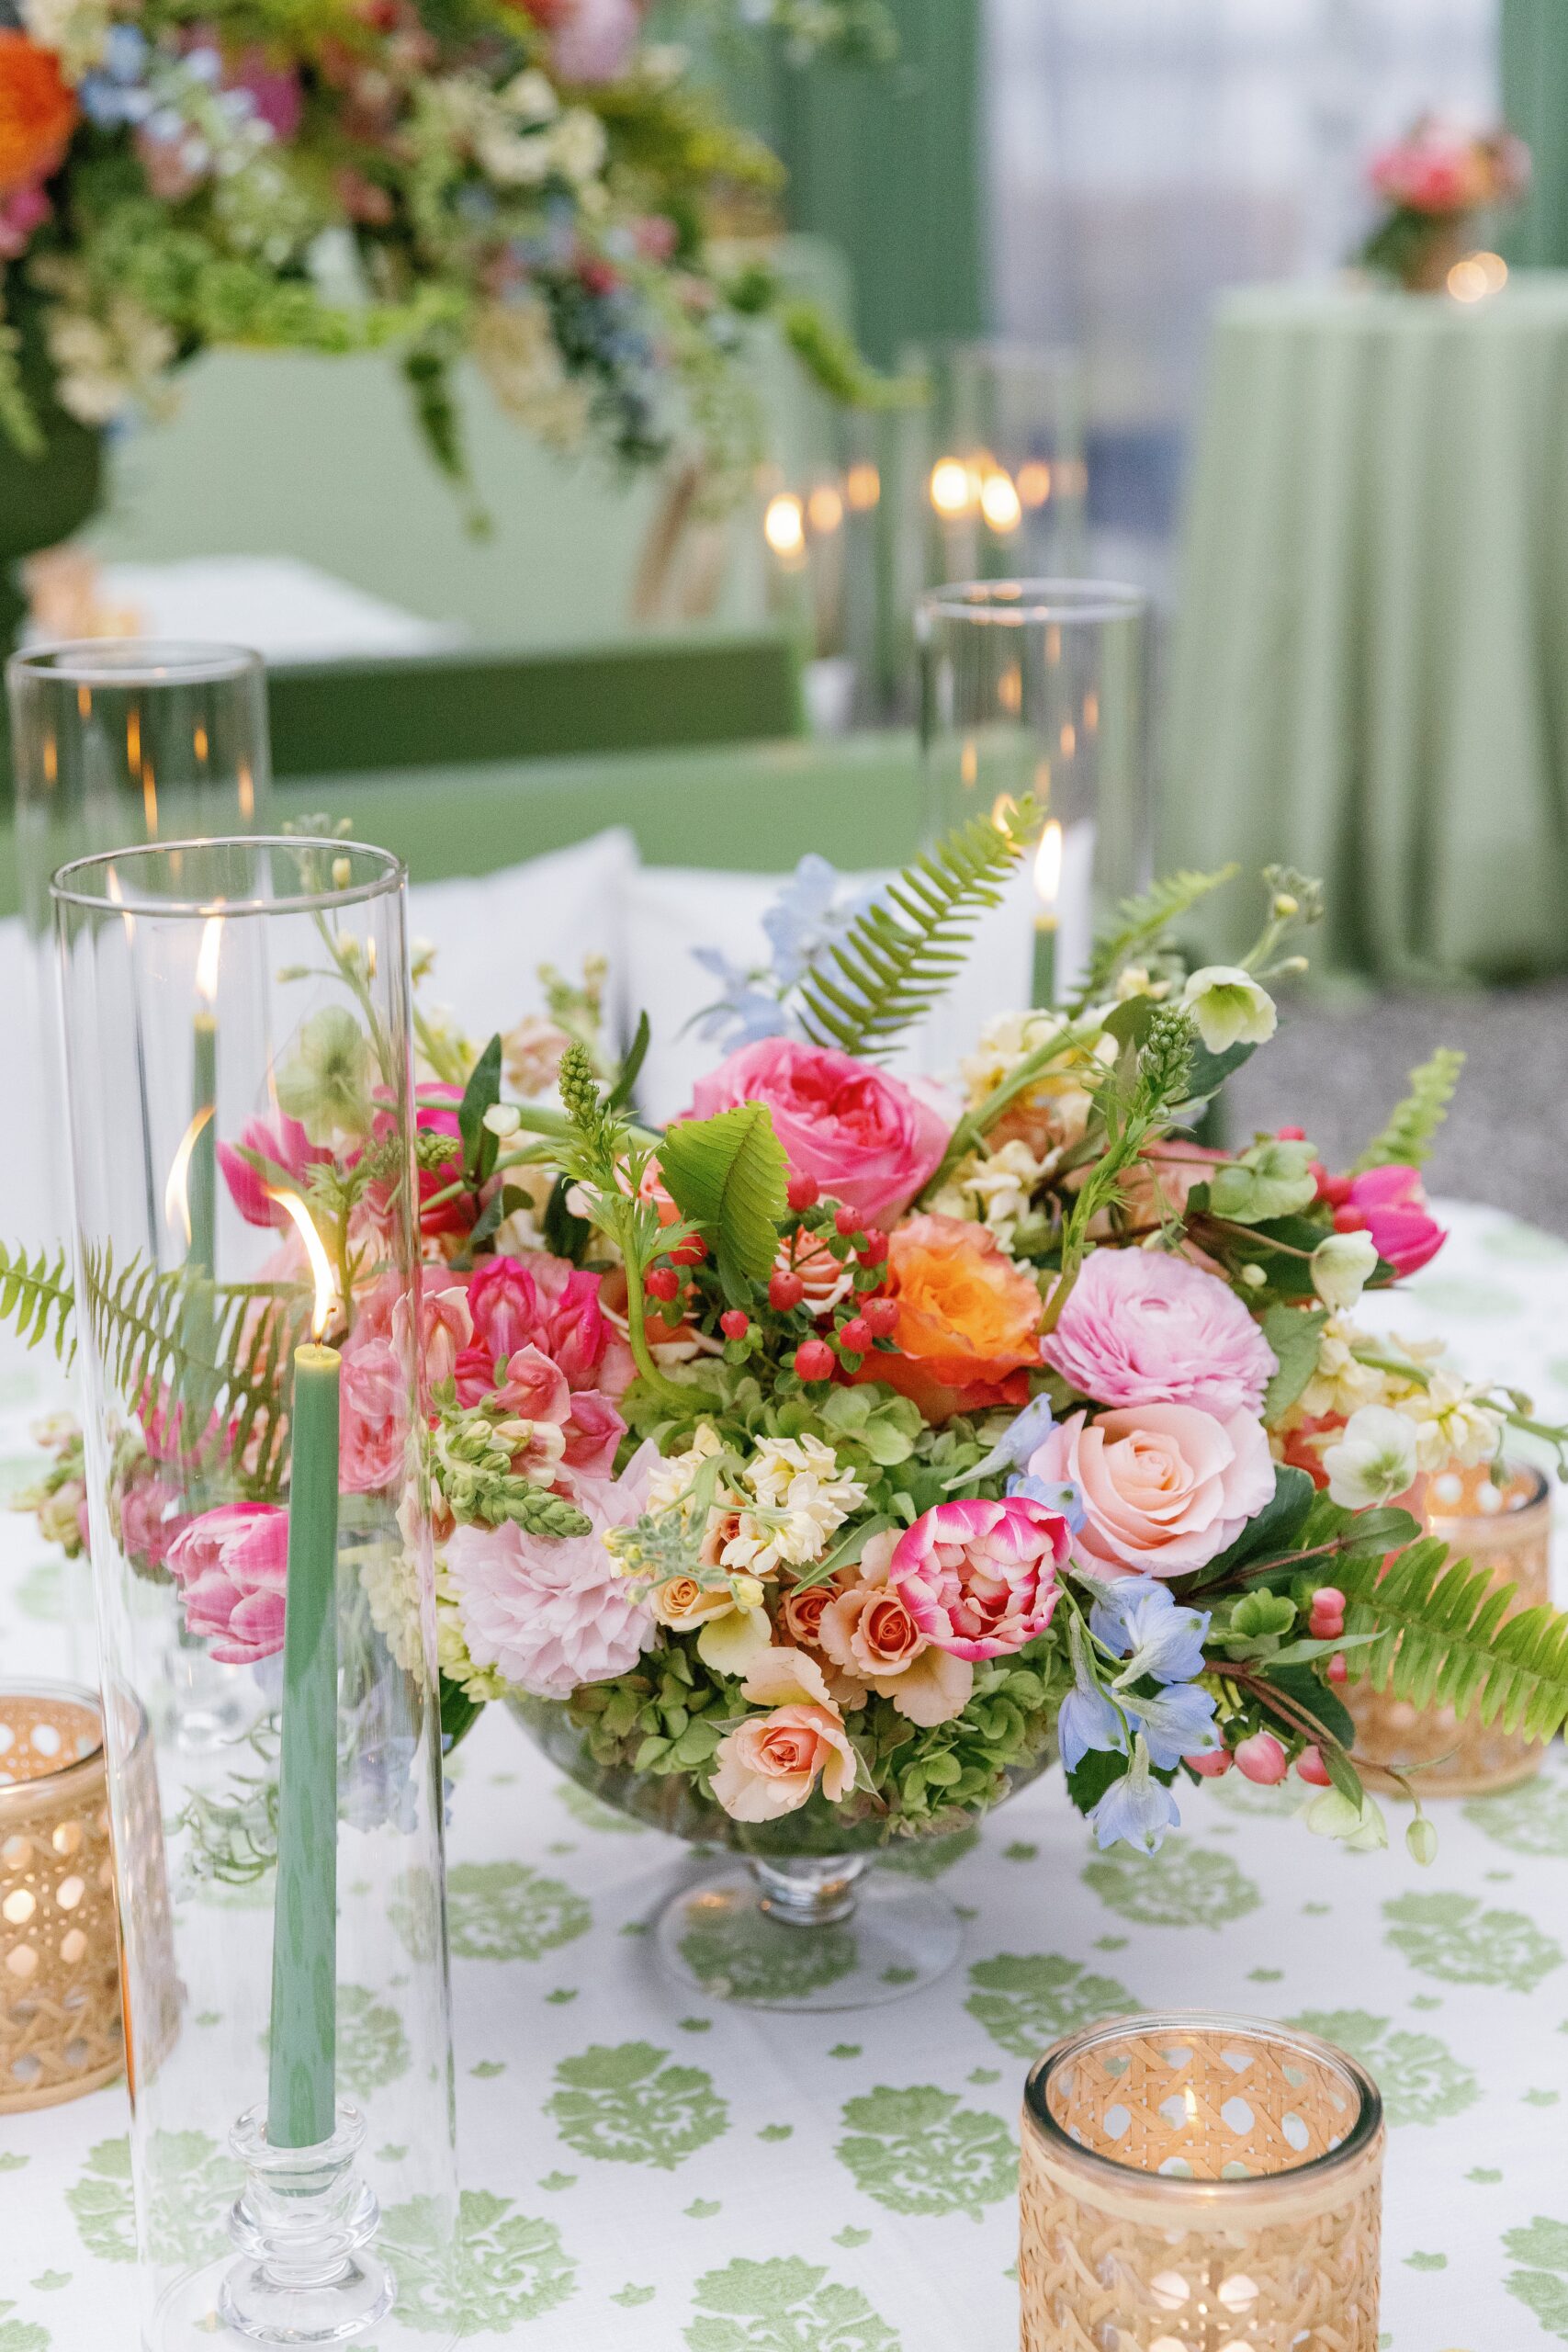
Hannah + Matt’s intimate brunch wedding at The Sanctuary on Kiawah was such a special celebration. If there are two things I LOVE, it’s an intimate wedding and brunch! Combine them together and it’s the perfect recipe for a memorable soiree. Can I specialize in brunch weddings? Pretty please?! I just love them! The morning […]
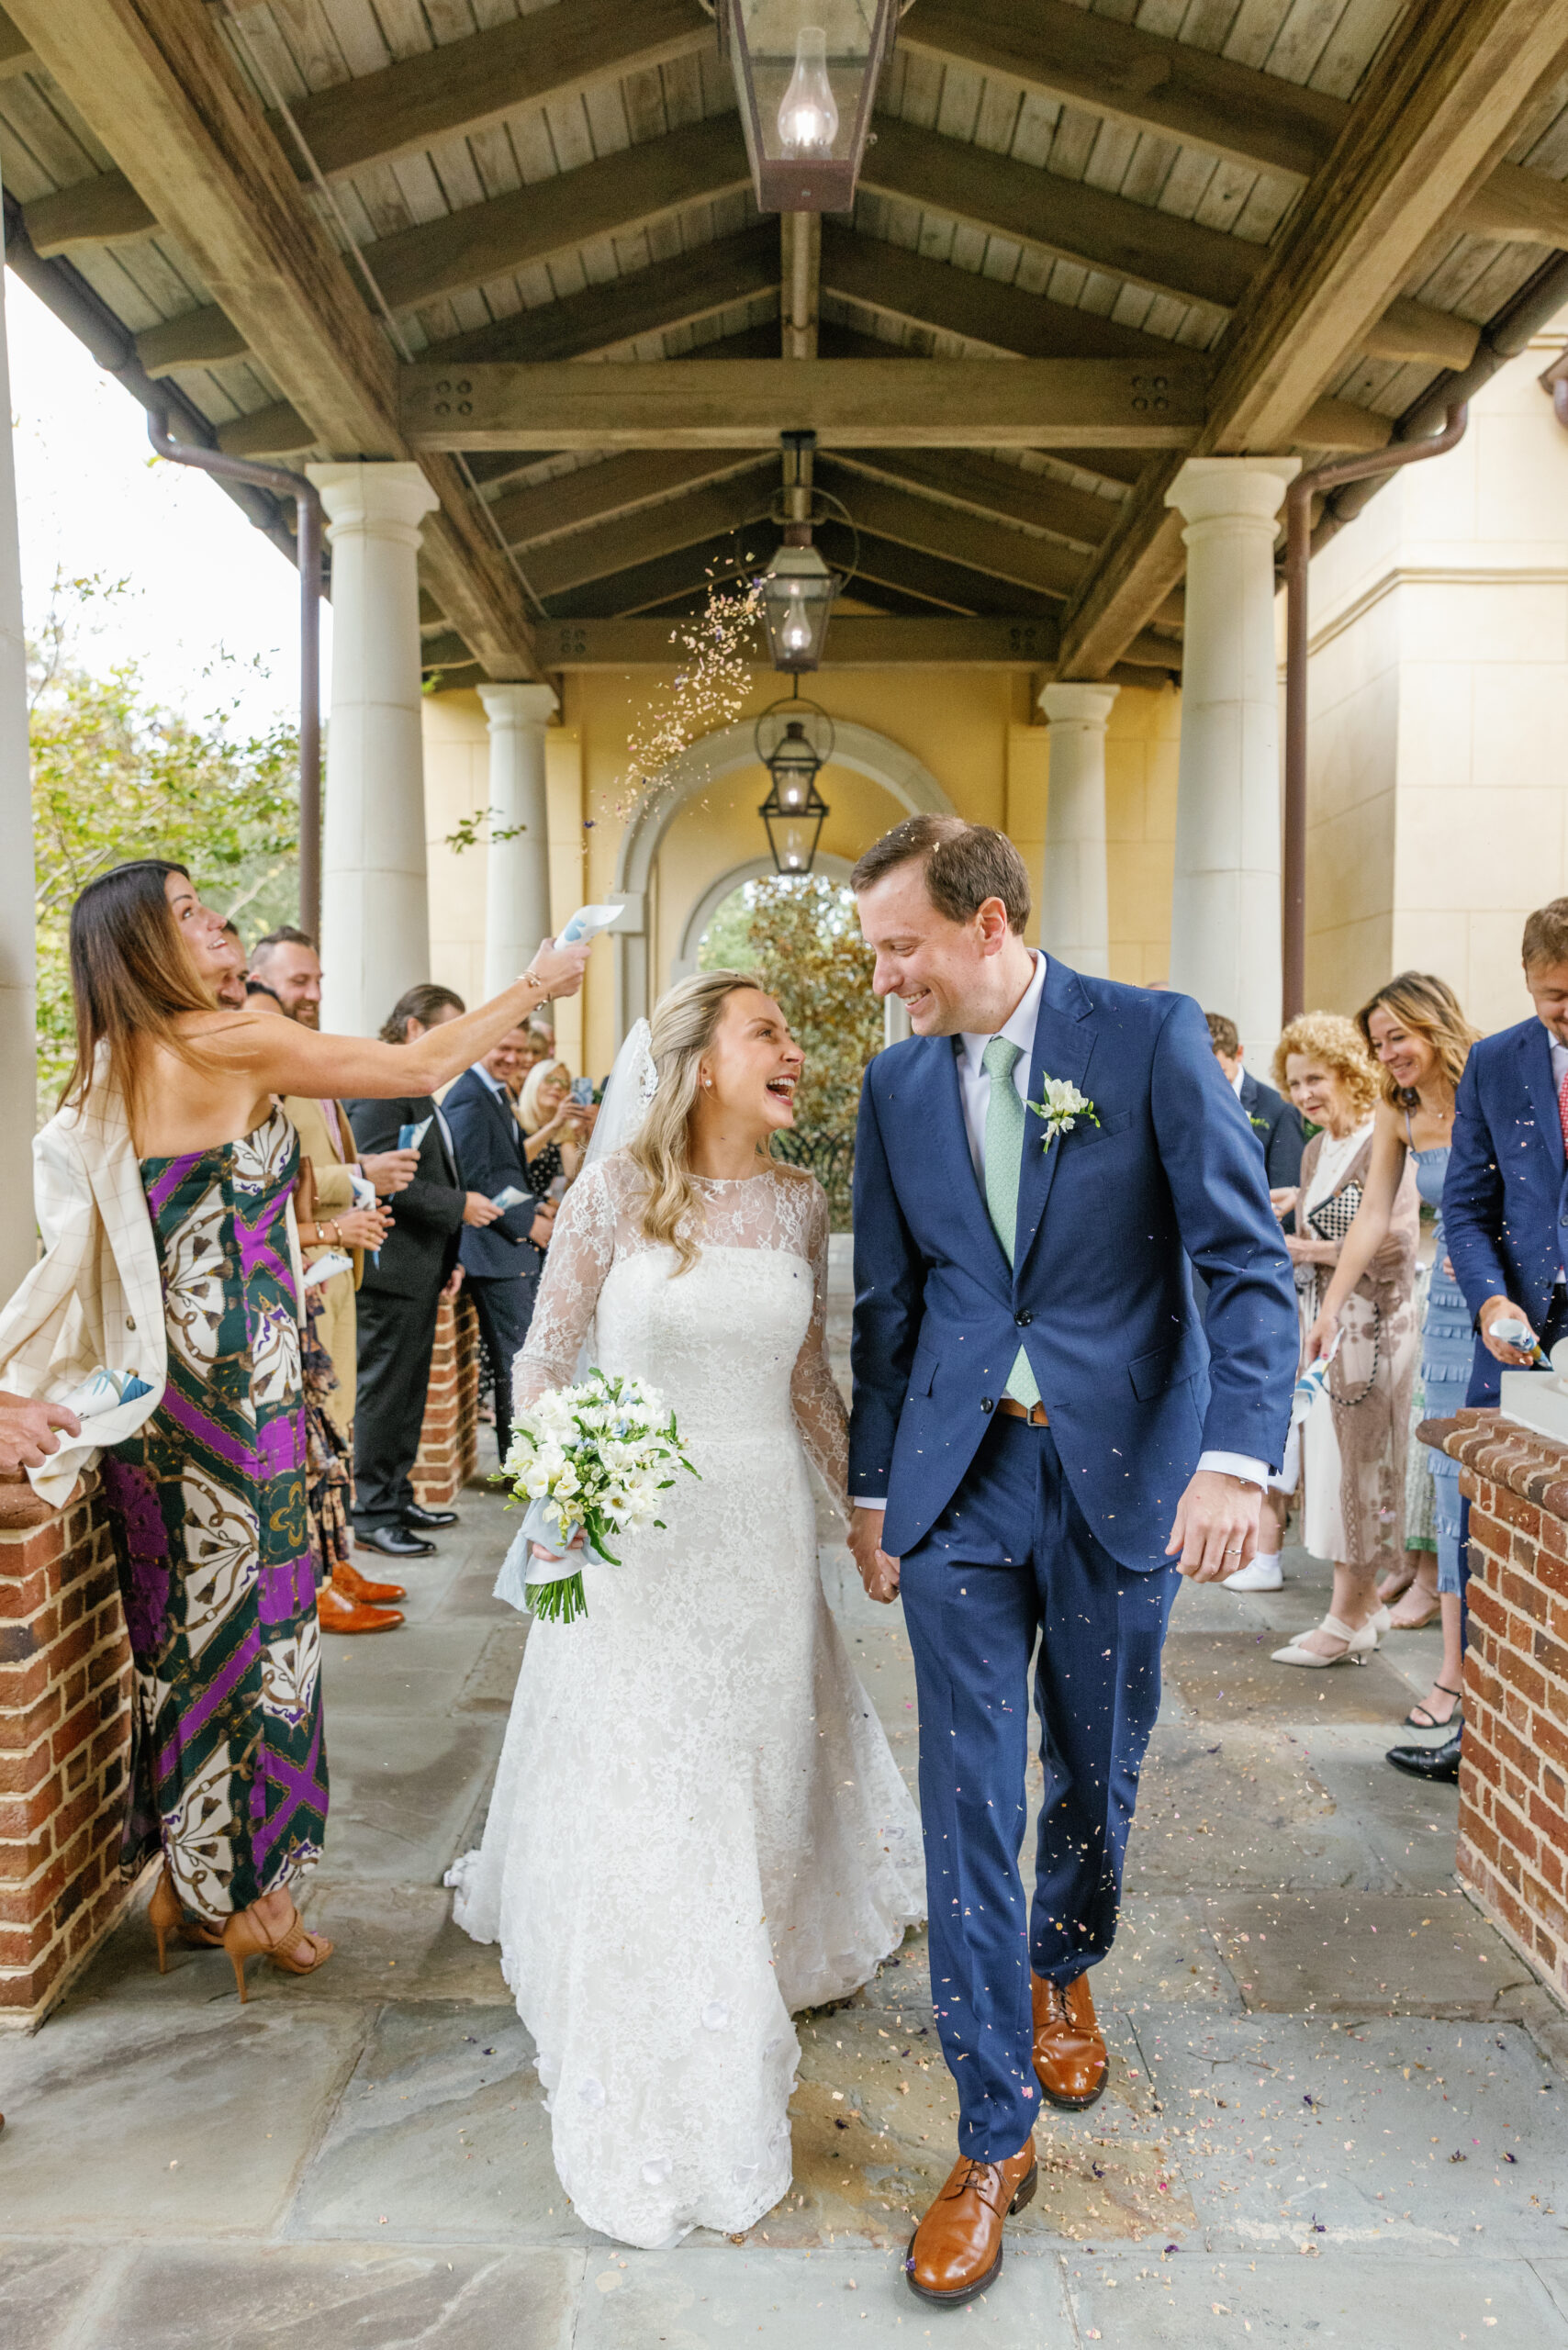
Ashley + Kyle’s wedding day was, in a word, magic. These two share such a beautiful love and I am beyond thankful to have witnessed it first hand. Ashley is pure JOY in human form and she absolutely glows in Kyle’s presence. The way they look at each other and care for each other is […]
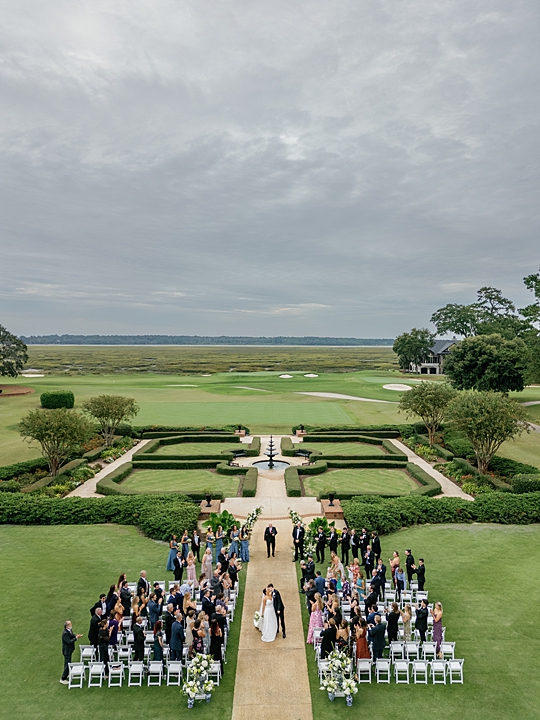
From the moment I first spoke to Sandra, I knew her wedding day was going to be something special. She had a clear vision of a day filled with special details, personalized moments, and a celebration of love that was truly unique to her and Matt’s love story. Being in the fashion world, I knew […]
entries
popular
